
A good voiceover turns a good video into a great one by giving your viewer context, momentum, and most importantly, feeling and emotion. Ideally, if you speak with purpose, your audience should easily follow along and take action. In this guide, you’ll discover what a voiceover is, what makes a good voiceover, the equipment you need to get started, and how, exactly, to record a voiceover yourself.
What is a voiceover?
A voiceover is narration that you record separately from your footage and place over the video in the edit. It does not come from anyone on screen. It guides the viewer, explains complex moments, and sets tone. You’ll often hear voiceovers in commercials, explainers, documentaries, product demos, and e-learning. When you plan well and record like a pro, it should feel natural while not distracting from what’s on the screen.
What makes a good voiceover?
A good voiceover requires a good performance, good equipment, and a good edit. Here’s what to think about before you start.
Clarity and diction
Speak each word cleanly. Support your breath. Keep your jaw relaxed. Hit consonants without harsh pops. Smile a little when the script calls for warmth. The mic hears the difference.
Natural, relatable tone
Write like you talk. Aim for friendly, confident energy. There’s no need to chase a perfect radio voice in order to connect with your listener. Talk just like you’re talking to a friend or a coworker, based on the tone of your video.
Good pacing and rhythm
Vary sentence length and add short pauses at natural break points. Keep your speaking pace near a comfortable conversation speed. Tighten rambling phrases but let key lines breathe.
Intentional dynamics
Control volume and emphasis. Lift important words and bring energy up for benefits, but lower slightly for sensitive or complex ideas. Do not shout, but at the same time, don’t whisper.
Proper mic technique
Aim the capsule slightly off‑axis to soften plosives. Keep a steady distance of 6 to 8 inches with a pop filter. Sit or stand tall. Monitor with closed‑back headphones so you catch clicks, rustle, or room noise as you record.
Clean audio and consistent levels
Record at 48 kHz for video. Set input gain so average phrases land around −18 dBFS with peaks near −10 dBFS. Leave headroom for post processing. Keep the noise floor low by choosing a quiet room, turning off the AC, and moving away from hard, reflective surfaces.
Thoughtful editing
Remove mouth clicks, long breaths, and distractions. Use gentle EQ to reduce muddiness and add small presence only if the voice needs it. Add light compression for consistency. However, it’s key to avoid over‑processing. You want your voice to sound like you.
Fit with the picture
Your track should serve the story. If the cut moves fast, tighten your read. If shots carry emotion, let the picture breathe. You direct the listener through timing and tone.
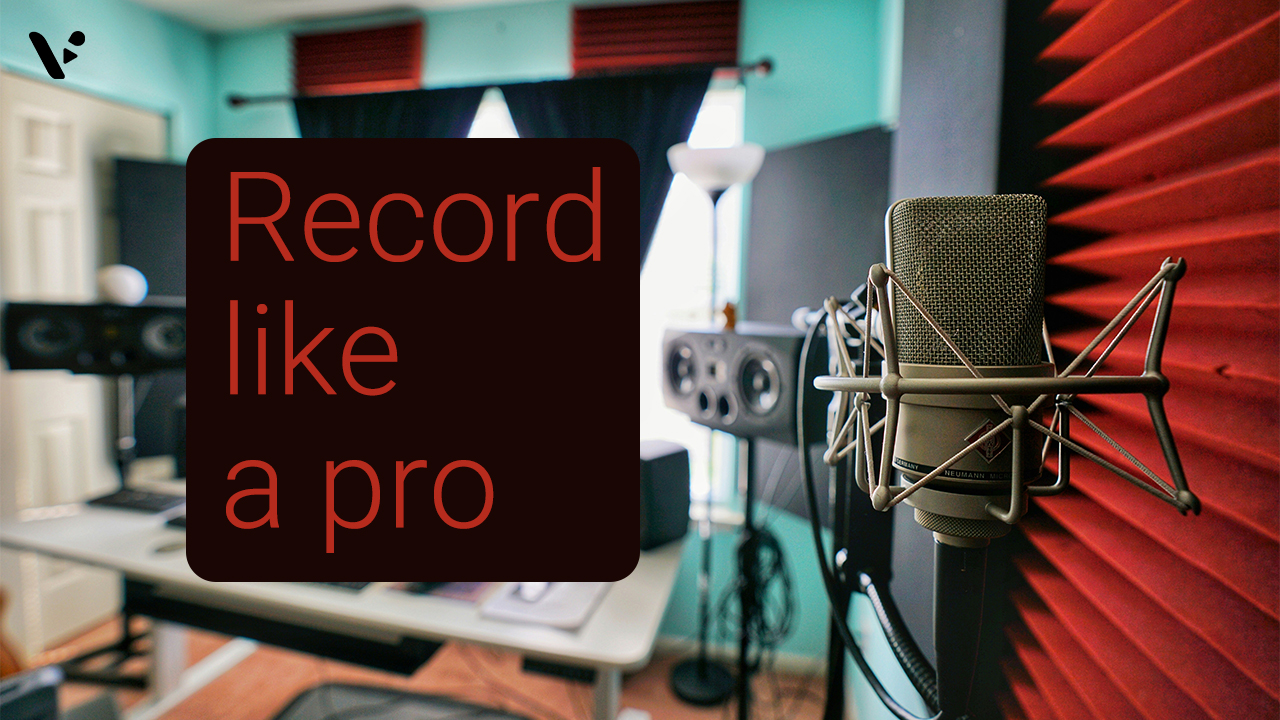
The best equipment for voiceovers
You can record solid voiceover with modest gear. You can also build a serious chain for studio work. Choose the path that matches your goals and budget.
Starter kit: affordable and effective
Microphone
A quality USB mic keeps setup simple. Models like the Blue Yeti or similar give you plug‑and‑play convenience and respectable clarity. Choose the cardioid pattern. Speak off‑axis to reduce plosives.
Mobile option
A smartphone plus a lavalier such as a RØDE smartLav+ can capture clean narration in a quiet space. Record into a reliable app. Keep the phone in airplane mode.
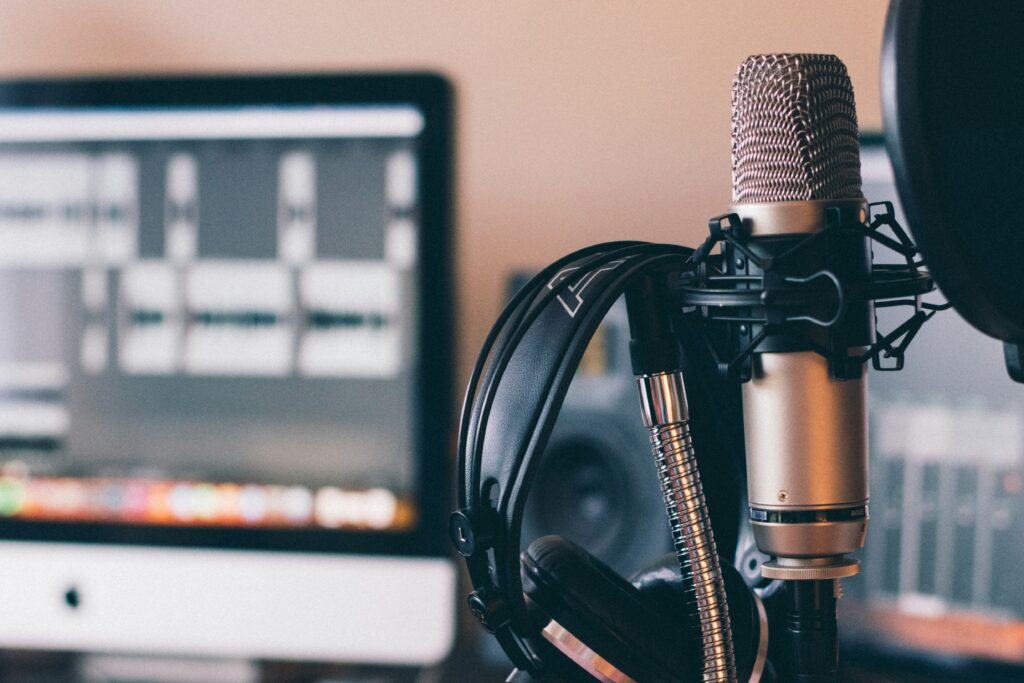
Monitoring
Use closed‑back headphones. You need to hear issues as they happen.
Room treatment
A clothes closet or a small room with rugs and curtains works well. Drape a duvet behind you and at the sides to tame reflections. A collapsible reflection filter behind the mic adds control.
Accessories
Add a pop filter, a sturdy boom arm or desk stand, and a shock mount if your mic supports one.
Mid‑range kit: flexible and future‑proof
Microphone and interface
Step up to an XLR condenser mic such as the RØDE NT1 or NT1‑A. Pair it with a solid audio interface like a Focusrite Scarlett 2i2. This combo raises fidelity, lowers noise, and lets you upgrade pieces over time.
Headphones and monitoring
Choose neutral, closed‑back headphones so you hear detail. If your space stays quiet, add small studio monitors for final checks.
Room treatment
Install a few broadband panels at first reflection points. Add a thick rug and a ceiling cloud if the room rings. Aim for control, not deadness.
Backup recorder
A handheld like a Zoom H5 gives you a second recording path and location flexibility.
Pro studio kit: broadcast‑level results
Microphones
For classic voice work, engineers often reach for a Neumann TLM 103 or U87. For promo and trailer styles, the Sennheiser MKH 416 delivers bold presence and excellent off‑axis rejection. Match the mic to the voice and the room.
Preamps and interfaces
A premium interface such as a Universal Audio Apollo Twin or a Focusrite Clarett provides clean gain and reliable conversion. Quality matters most at the mic, the preamp, and the room.
Isolation and treatment
A purpose‑built booth or a heavily treated room protects your noise floor and keeps tone consistent. Quiet rooms always sound more professional than expensive EQ.
Control tools
Add a hardware high‑pass filter if your mic chain includes it. Use a clean inline booster if the mic output runs low. Keep your signal simple.
Software
Any reliable DAW works. Audacity handles basics. Adobe Audition, Logic Pro, and Reaper add speed and flexibility. Choose one and learn it well.
How to create a voiceover for video
Follow this workflow to capture clean narration and place it confidently in your edit.
1. Write a tight script
Use simple language and vary sentence length naturally. Speak to one listener. Mark breaths and pauses and add emphasis marks for key points. Read the draft out loud and cut any line that trips you.
2. Rehearse with intent
Warm up gently by running through tongue twisters and long vowels. Practice three reads with different energy levels. Choose the approach that matches the cut.
3. Prep the space
Silence fans, air conditioners, and notifications. Unplug loud electronics, including noisy light fixtures. Place soft material around the mic position.
4. Set up the mic
Mount the pop filter two inches from the mic. Place the mic just below mouth level, slightly off to the side. Keep a fist‑to‑hand distance from your lips to the filter. Choose cardioid. Check that phantom power is on for condenser mics.
5. Gain stage smartly
Set levels so your loudest read peaks around −10 dBFS. Aim for consistent averages near −18 dBFS. Leave headroom. Record 10 seconds of room tone at the start for noise profiling and edit points.
6. Perform the read
Sit or stand tall. Keep the script at eye level to prevent rustle or place it on a stand. Smile when the copy turns friendly. Use your hands to shape emphasis. If you stumble, pause, then pick up from the start of the sentence. Give yourself a second take of each line.
7. Edit for clarity
Assemble the best takes. Remove long breaths and clicks. Use a high‑pass filter around 70 to 100 Hz to clear rumble if the voice supports it. Cut harsh sibilance with soft de‑essing. Add light compression with a low ratio for consistency. Avoid heavy noise reduction, which can add artifacts.
8. Mix into the picture
Place the VO above music and effects by carving a small EQ dip around the voice presence range in the music. Keep dialogue intelligible at normal listening levels. Balance to taste and test on speakers, earbuds, and a phone.
How AI can help voiceovers
Powerful AI video tools like Visla can speed up the process and open creative options.
Visla can generate natural‑sounding AI voices that you can drop straight onto your timeline. You can clone your own voice for consistent branding. You can also prompt Visla to create a novel, custom voice that matches a mood or character. This helps you produce quick scratch reads during edits or finish a project when you lack time to record.
For sensitive topics, nuanced storytelling, or brand‑defining moments, step to the mic yourself or hire a pro talent. Human performance still sets the high bar. For everything else, you can use Visla.
FAQ
A voiceover is narration you record separately and place over visuals to guide the viewer. It adds context, explains steps, and shapes tone. You hear it in explainers, ads, training, and documentaries. Plan it like dialogue and record it with care so it feels natural.
Start with a cardioid microphone, a pop filter, closed‑back headphones, and a quiet, treated room. On a budget, use a quality USB mic like a Blue Yeti or a smartphone with a lavalier such as a RØDE smartLav+. For more control, pair an XLR condenser like a RØDE NT1 with an interface such as a Focusrite Scarlett. In pro studios, engineers often use mics like the Neumann TLM 103 or Sennheiser 416 with premium interfaces.
Write a tight script and read to one listener. Warm up, hydrate, and keep a steady mic distance of 6 to 8 inches with a pop filter. Record in a quiet, absorbent space and aim for peaks near −10 dBFS with averages around −18 dBFS. Edit lightly with EQ, de‑essing, and gentle compression.
Draft the script first and cut a rough edit with a scratch track if you need timing. Record the final voiceover once the picture feels stable so you avoid major retakes. Leave space in the timeline for breaths and emphasis. After recording, mix the voiceover against music and effects.
AI speeds up scripting, timing, and versioning. In Visla, you can generate natural‑sounding AI voices, clone your own voice for brand consistency, or prompt a custom voice that fits a mood. Drop the track on your timeline, test pacing, and swap lines without re‑recording. Use AI ethically and keep consent and transparency in mind.
May Horiuchi
May is a Content Specialist and AI Expert for Visla. She is an in-house expert on anything Visla and loves testing out different AI tools to figure out which ones are actually helpful and useful for content creators, businesses, and organizations.