A strong how-to guide turns confusion into action. It shows someone exactly what to do, in the right order, with no extra friction. You guide the reader from a clear starting point to a specific finish line. In this article, you will learn a proven structure for writing how-to guides and scripts, the core rules of technical writing, how to use visuals, and how AI can speed up your workflow without sacrificing quality.
TL;DR (Answer first): A good how-to uses imperatives, one action per step, location before action, and plain language. Put steps in exact order, avoid jargon unless the audience expects it, and balance detail so readers can succeed without wading through fluff.
Why create a how-to guide?
Short answer: Because people search for step-by-step help at the exact moment they need it. A well-written how-to earns trust, reduces support volume, and builds steady search traffic.
Benefits you can measure:
- Faster user success. Clear steps shorten time-to-value for your product or process.
- Fewer repetitive questions. Support teams can point to the guide instead of rewriting answers.
- Authority and credibility. Precise, useful instructions position your brand as a reliable expert.
- Search and AEO upside. Question-style headings and direct answers give you a shot at answer boxes in search and AI summaries.
What are the basics of technical writing for how-to guides?
These fundamentals make your guide easy to follow and easy to parse by readers and AI systems alike. They also incorporate key best practices from formal technical writing.
Use imperatives. Start every step with a verb: Open, Select, Click, Enter, Upload. Imperatives cut ambiguity and move the reader forward.
Economy of language. Keep sentences short. Remove filler words. Prefer one precise sentence over three vague ones. Example: write Select File > Export instead of Now you are going to want to select the Export option from the File menu.
One action per step. Do not cram multiple clicks or sub-tasks into a single step. If the user must choose an option after a click, make that a sub-step or the next numbered step.
Put location before action. Tell the reader where to go, then what to do. Example: In Settings, select Privacy. Avoid directional tips like left sidebar or right panel unless the UI literally depends on physical orientation. Named paths beat vague directions.
Sequence is sacred. List steps in the exact order they must be performed. If the path branches, label both paths clearly: If you use a Mac, do A. If you use Windows, do B.
Avoid jargon unless the audience expects it. Use common words. If a specific term is required, define it once when you introduce it. Avoid insider UI slang like meatball menu unless you are writing for designers who know the term.
Balance detail. You should not over-explain or under-explain. Include only what the reader needs to complete the task successfully. Link to background articles for deeper context instead of bloating the steps.
Front-load warnings. Put cautions before the risky step, not after. Example: Warning: Export replaces the existing file. To keep both, choose Export As.
Make it scannable. Use numbered lists for procedures, bullets for options, and short paragraphs for explanations. Readers skim first and read second.
How do you write a how-to guide? (A clear, step-by-step explanation)
Follow this template from idea to published guide. Use it for articles or as the basis for a video script.
1) Define the finish line
Write one outcome sentence that names the exact result. Example: By the end, you will have exported captions from Visla as a PDF. This keeps the scope tight and measurable.
2) Choose the audience and scope
State who this guide is for and what it includes or excludes. Example: This guide is for first-time editors. It covers exporting captions, not editing them.
3) List prerequisites
Note accounts, permissions, versions, files, or time needed. If a tool requires setup, link to that setup article. This prevents false starts.
4) Gather inputs and assets
Collect sample files, credentials, and any screenshots you will need. If you plan a video, outline the scenes and on-screen actions now.
5) Draft the numbered steps
Here is the core pattern:
- Use imperatives. Start with a verb.
- One action per step. Split combined actions into sub-steps when needed.
- Location before action. Name the screen, menu, or path first.
- Plain language. Avoid jargon unless the audience expects it.
- Short sentences. Aim for tight, punchy instructions.
Example (good): In Project settings, select Branding. Click Upload logo.
Example (avoid): Click the Upload logo button in the left sidebar under Branding. This combines location and action poorly and uses a directional clue that can change across layouts.
6) Handle branches and decisions
If the path splits, format it visibly:
- Option A: Using the desktop app
- In the top menu, select File > Export.
- Choose PDF.
- Option B: Using the web app
- In the workspace header, select More > Export.
- Choose PDF.
7) Add warnings and notes at the right moment
Place cautions before the relevant step. Keep them short. Use Note, Tip, or Warning labels to help skimmers.
8) Show the result and verification
End the procedure with a simple confirmation the reader can check: You should see Export complete and a PDF in your downloads folder. If there is an obvious next step, link it.
9) Add troubleshooting and related links
Collect the three most likely problems and give direct fixes. Link to deeper references rather than wedging long explanations into the core steps.
10) Test the guide with a fresh pair of eyes
Ask a teammate who did not write the guide to follow it. Watch where they hesitate. Rewrite the steps that caused friction. Remove extra words.
How should you use pictures and video in a how-to guide?
Use visuals to disambiguate, not to decorate. Add a screenshot when words might be interpreted in more than one way or when the UI includes similar labels. Mark the exact control with an arrow or outline and add a short caption that states the action.
Keep screenshots current. Outdated UI screenshots break trust. If the product changes rapidly, prefer generic interface crops that show only the necessary element.
Write a two-column video script. In the left column, write the voiceover line in simple, active language. In the right column, describe the on-screen action or B-roll. Each scene should align to a single step. This keeps your how-to video tight and accurate.
Clip length and pacing. Keep clips short and focused on the action. Aim for about 120 to 140 words per minute of voiceover and trim aggressively. Silence during visible clicks often improves comprehension.
Accessibility matters. Add captions to videos. Use alt text for images. Readers should be able to complete the task even if they cannot see or hear the media.
How can AI help you write a how-to guide?
AI can accelerate capture, drafting, and cleanup while you maintain control of accuracy. A smart workflow lets you record the task once and turn it into a clean article, a PDF, and a script for video.
Visla Screen Step Recorder to PDF

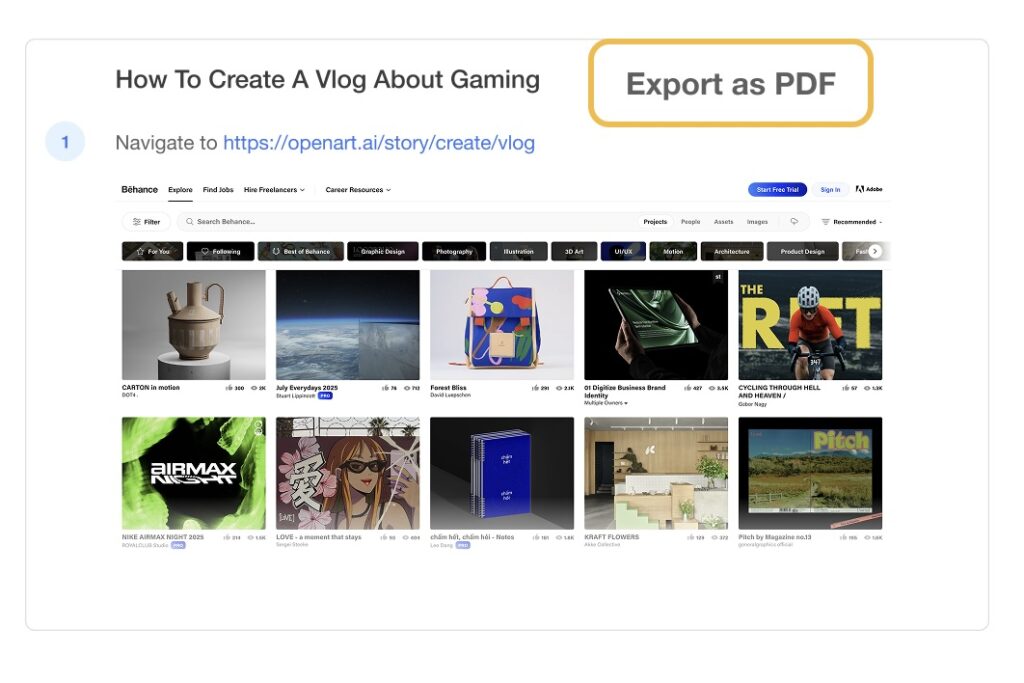
Visla’s Screen Step Recorder captures each action you take, then turns those actions into a structured, step-by-step document. You can export the result directly to PDF, which is ideal for onboarding, SOPs, and customer support.
Quick workflow:
- Start the Screen Step Recorder in Visla.
- Perform the task from start to finish at normal speed.
- Stop recording. Visla auto-detects the steps and creates a draft.
- Review the draft. Tighten language, split combined actions, and add warnings or branches.
- Export to PDF. You now have a polished document you can send or share.
Why this helps:
- Accuracy. The recorder mirrors the exact clicks and fields you used.
- Speed. You avoid manual screenshot capture and step transcription.
- Consistency. The generated draft already follows numbered-step conventions you can refine.
- Reuse. The same capture can power a how-to article and a video script.
Common mistakes to avoid (and what to do instead)
- Overstuffed steps.
- Problem: Multiple actions in one step cause readers to skim and miss a click.
- Fix: Split into separate, numbered steps or use a short sub-list.
- Directional instructions.
- Problem: Click the button in the left sidebar fails on different screen sizes or layouts.
- Fix: Use named locations: In Settings, select Privacy. If a path matters, write it as Menu > Submenu > Command.
- Jargon without context.
- Problem: Terms like meatball menu confuse general audiences.
- Fix: Prefer common labels or define the term on first use if the audience expects it.
- Walls of text.
- Problem: Long paragraphs hide the actual action.
- Fix: Use numbered steps, bullets for options, and short, direct sentences.
- Missing verification.
- Problem: Readers finish the steps but cannot tell if they succeeded.
- Fix: Include a simple, observable result at the end.
- Passive voice and vague verbs.
- Problem: The settings are changed hides the doer and the action.
- Fix: Use active, specific imperatives: Change the setting to On.
FAQ
A how-to guide is a short, task-focused set of numbered steps that help a reader achieve a specific result. It differs from a tutorial, which teaches concepts, and from a reference, which lists facts.
Keep it as short as the task allows. Many effective guides fit on one page. Split very long procedures into sections of 5 to 10 steps each.
Use a friendly, professional tone with active verbs and short sentences. You are a coach, not a lecturer.
Yes, when they remove ambiguity. Add captions and keep visuals current with the UI.
AI can draft from a screen capture and reduce busywork. You should still review the language for accuracy, split combined steps, and add warnings or branches.
May Horiuchi
May is a Content Specialist and AI Expert for Visla. She is an in-house expert on anything Visla and loves testing out different AI tools to figure out which ones are actually helpful and useful for content creators, businesses, and organizations.

