
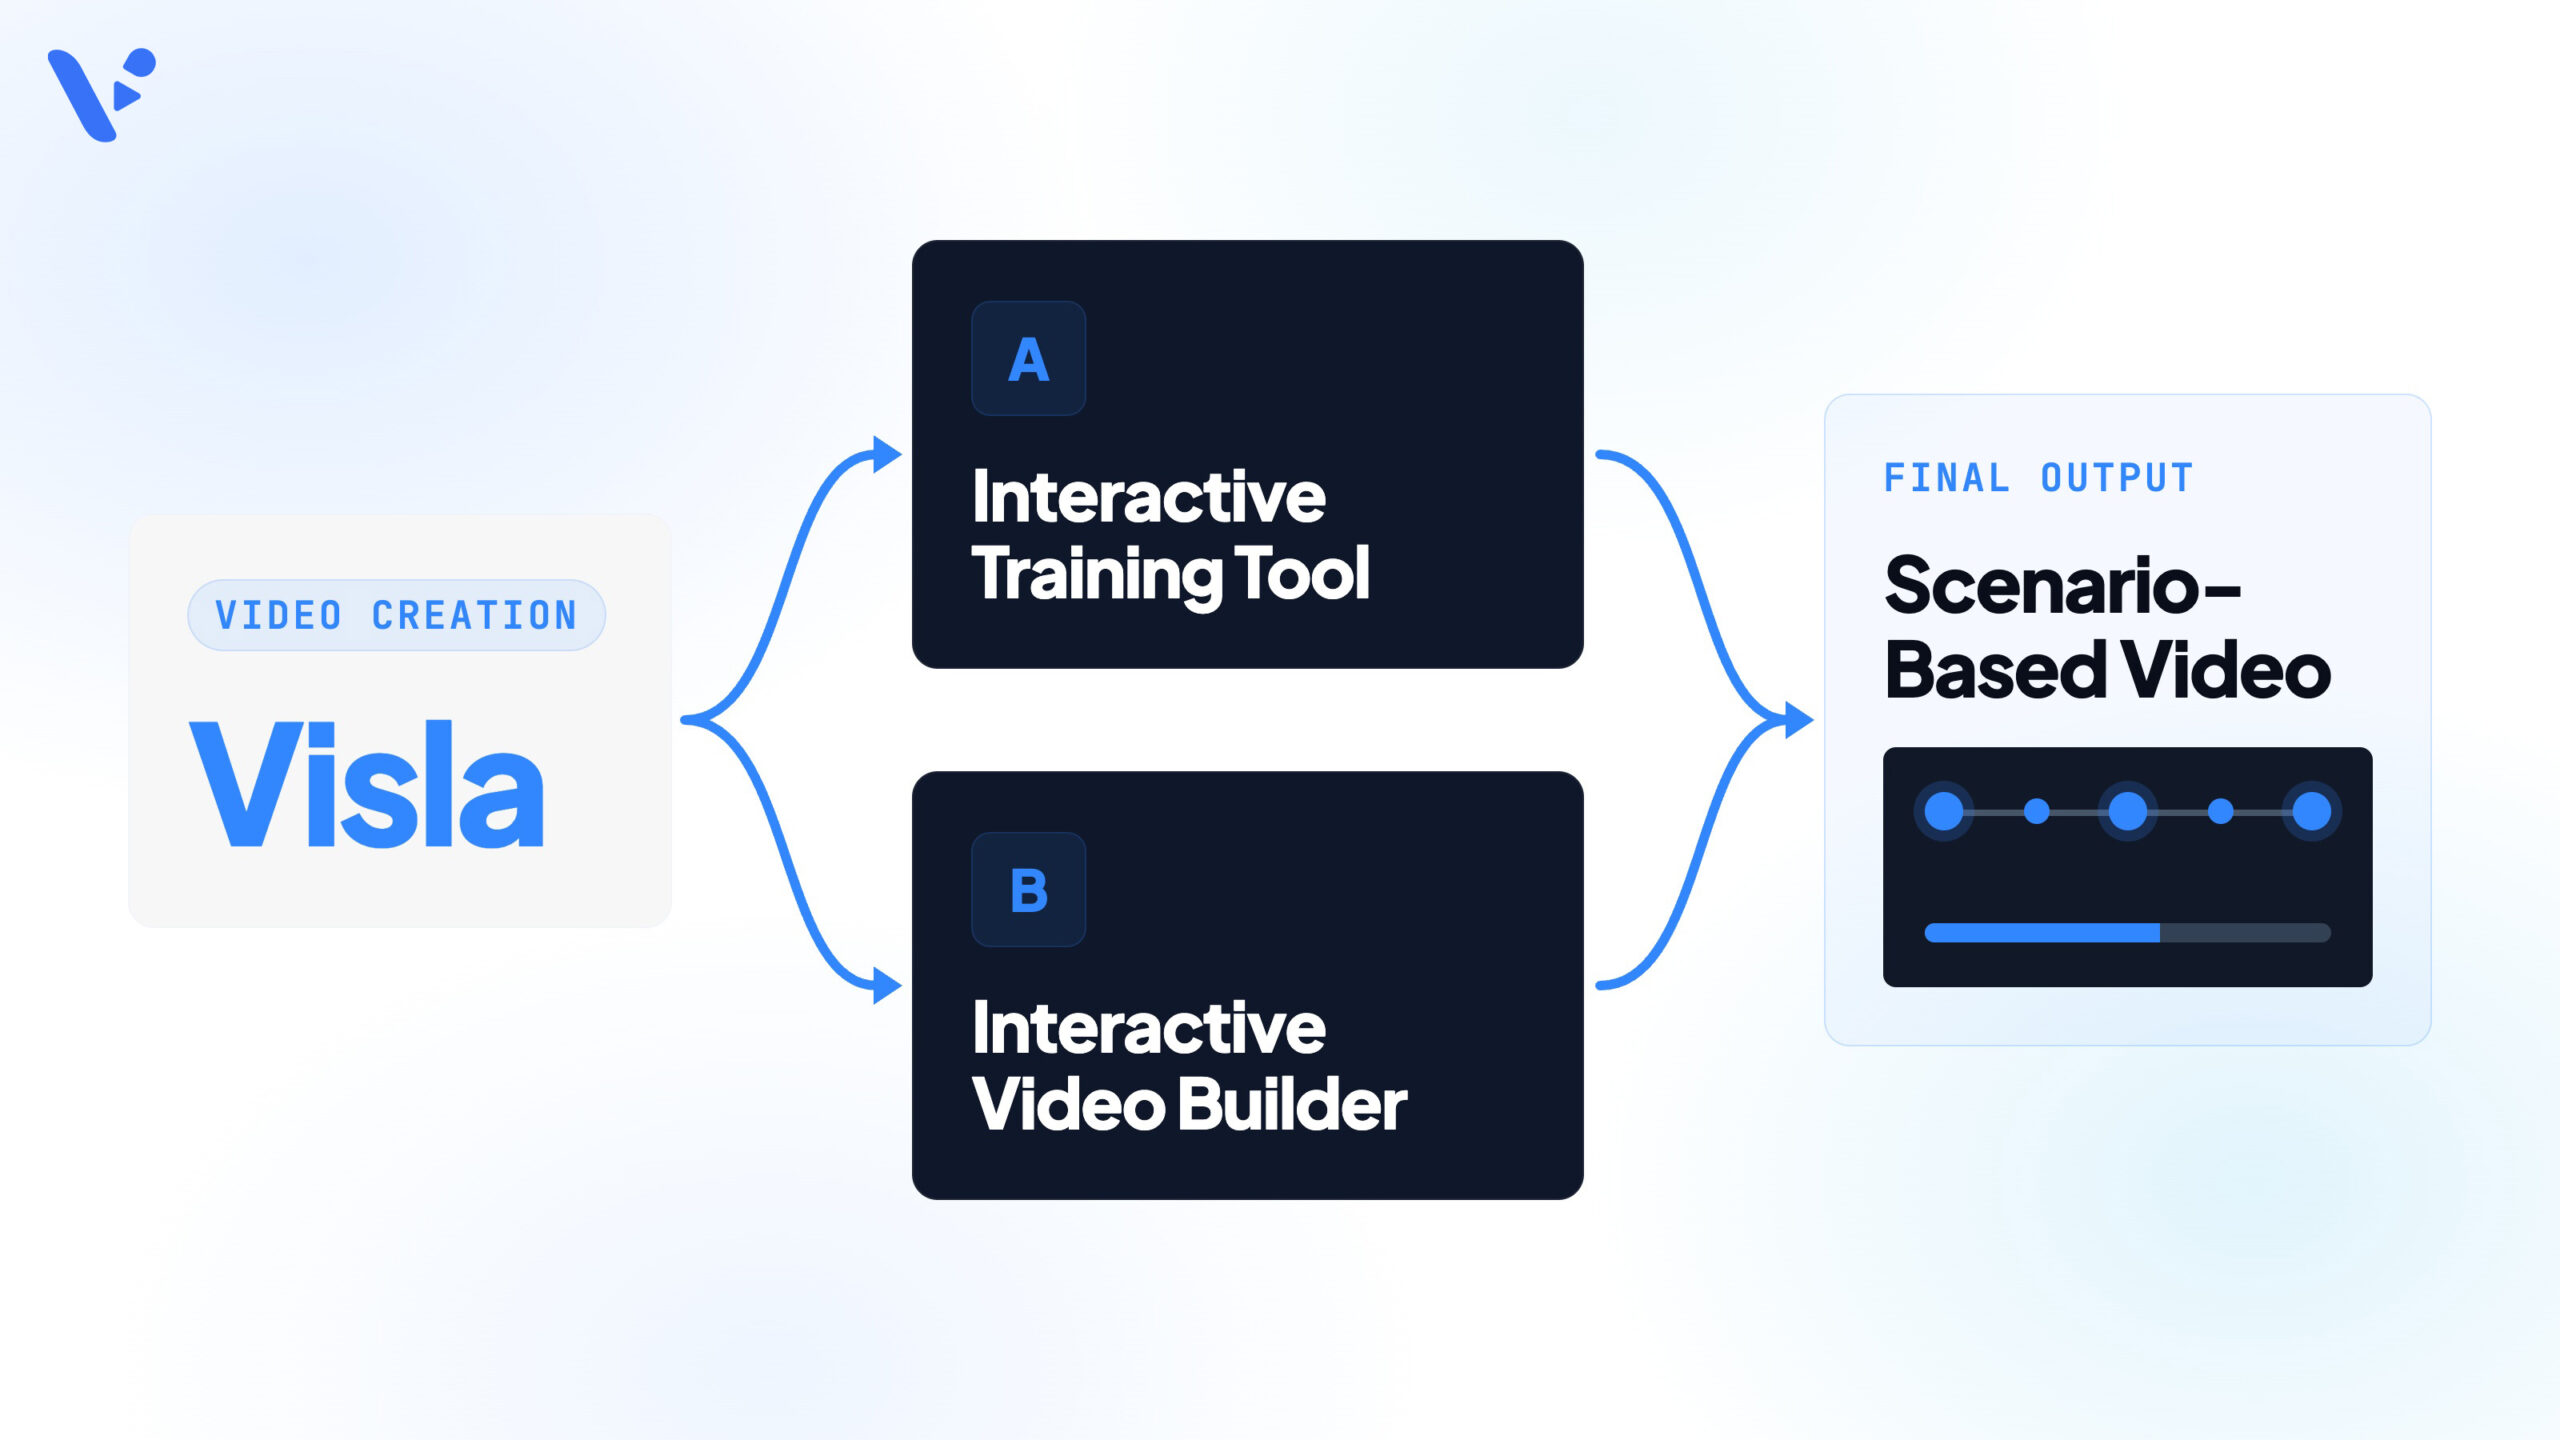
Quick Answer: Use Visla’s Scenario-Based Video to create the individual video scenes in a branching scenario, then use an authoring tool such as Articulate Storyline 360, Adobe Captivate, or iSpring Suite to add learner choices and branching logic. Plan the scenario first, assign every video to a specific branch, and name each Visla project so you can tell where it belongs later. Create and download an MP4 for each branch, duplicating projects when you need to reuse the same characters and environments. Then add those MP4 files to your authoring tool and connect them with its interaction controls. The choices live in the published interactive course, not in the MP4 files themselves.
Plan your scenario before you create the videos
Scenario-based learning is a good fit when the learning objective involves making a decision or applying knowledge in context. If you’re still deciding whether this format fits your training goal, see what the research says about scenario-based learning videos.
Start with the decision learners need to practice
Define the behavior first.
A manager-training scenario might begin with an employee pushing back on difficult feedback. The learner could choose between acknowledging the concern and becoming defensive. Each response changes what happens next.
You don’t need a large branching tree. If one decision and one consequence cover the learning objective, keep it simple.
Map the branches before you write every line
Sketch the scenario as a flowchart before you create anything in Visla.
A basic structure might look like this:
Opening conversation → Decision 1 → Branch A or Branch B → Consequence → Decision 2 → Outcome
Plan where each branch goes, which paths reconnect, and how the scenario ends.
Reconnecting branches can keep production manageable. If every choice creates two completely separate paths, the number of videos grows quickly.
Decide what each video needs to do
Treat each MP4 as one node in the larger scenario.
Before you create it, decide what starts the clip, what happens in it, and what choice or outcome follows. Two branches can point to the same video if the scenario naturally reconnects.
For example, two different learner choices might create different immediate consequences but eventually return to the same conversation. In that case, both paths can point to one MP4 instead of requiring two nearly identical videos.
Name every Visla project before production
Use this format:
Scenario name + branch ID + short description
Use the same name for the exported MP4.
| Scenario node | Visla project name | Exported file |
|---|---|---|
| Opening | ManagerFeedback_01_Opening | ManagerFeedback_01_Opening.mp4 |
| Constructive response | ManagerFeedback_02A_Constructive | ManagerFeedback_02A_Constructive.mp4 |
| Defensive response | ManagerFeedback_02B_Defensive | ManagerFeedback_02B_Defensive.mp4 |
| Recovery path | ManagerFeedback_03B_Recovery | ManagerFeedback_03B_Recovery.mp4 |
| Good outcome | ManagerFeedback_04A_GoodOutcome | ManagerFeedback_04A_GoodOutcome.mp4 |
Branch codes such as 02A and 02B make the structure obvious when you start connecting videos in your authoring tool.
Untitled Project 251 won’t tell you which branch belongs after Decision 2.
How to create scenario-based learning videos in Visla
Visla’s Scenario-Based Video creates dialogue-driven videos built around multiple characters interacting in the same scenario. You can use it to make the individual conversations, consequences, and outcomes that become the video nodes in your branching course.
1. Start with your prompt or script
Open Generate AI Video and describe the scenario, characters, audience, and conversation.
Add supporting files if needed, choose your visual style and branding, click Generate, then choose Create Scenario-Based Video.
If you already wrote the dialogue while planning the scenario, use that script.
2. Review the setup
Check the characters, voices, environments, and visual style.
Pay particular attention to elements you’ll reuse across branches, such as the same characters, room, clothing, or props.
3. Check the scenes
Review the speaker, dialogue, visual direction, and on-screen text for each scene.
Make sure the right character delivers every line and the visual direction matches the action you want.
4. Generate and review the storyboard
Click Generate Video to create the storyboard.
Review each scene’s still image and direction for continuity, framing, and accuracy before generating motion clips.
5. Generate and edit the video
Choose which storyboard scenes you want to turn into AI video clips.
Then use Visla’s Scene-Based Editor to adjust timing, rearrange scenes, change text or graphics, replace footage, or regenerate an individual clip.
6. Export the branch
Review the finished sequence and click Export. Find the exported clip in Clips, then download the MP4 to your device.
Give the downloaded file the same name as the Visla project so it matches your scenario map.
How to reuse the same characters and environments across branches
There are two practical ways to keep the same characters and environments across multiple branches. For smaller scenarios, it may be easier to create one long video and split it into separate branch clips afterward. For larger scenarios, duplicate the project and create each branch separately.
Option 1: Create one long scenario video and split it into branches
This works well when you’ve already scripted every path and the total scenario is still manageable as one project.
1. Script all of the branches first
Organize the dialogue so each branch appears as its own clearly defined section in the same Scenario-Based Video project.
Keep the branch IDs from your scenario map in the script so you know where each section begins and ends.
2. Generate and edit the full scenario
Create the complete video in one project.
Because the characters and environments are established once, you don’t need to recreate the same setup for every branch.
3. Export the finished video
Export the completed project. Visla turns the exported project into a Clip in your library.
4. Extract each branch from the Clip
Open the Clip and choose Extract.
Use the transcript or timeline to select the section that belongs to each branch. You can extract multiple sections and save them as separate clips.
If a branch needs extra cleanup, use Cut to remove unwanted sections.
5. Rename each extracted branch
Give each new clip the same branch name you planned earlier.
For example:
ManagerFeedback_02A_Constructive
ManagerFeedback_02B_Defensive
ManagerFeedback_03B_Recovery
This approach keeps the whole scenario in one project and makes character and environment consistency easier. The tradeoff is generation time. If your scenario has a lot of choices and branches, the master video can become very long to generate and review.
Option 2: Duplicate the project for each new branch
For larger scenarios, it may be easier to generate each branch separately while reusing the existing setup.
1. Duplicate the finished project
From the Projects view, open the ••• menu on the completed project and choose Duplicate.
2. Rename the duplicate
Rename it immediately using the branch name you planned earlier.
For example, if you duplicated ManagerFeedback_02A_Constructive, rename the duplicate ManagerFeedback_02B_Defensive before changing anything.
3. Return to the setup screen
Open the duplicated project and go back to the previous setup step.
When Visla warns that going back will discard project edits, leave Copy your edits in a new project checked and click Yes.
Keeping that option selected preserves the completed branch while you create the next one.
4. Replace the content for the new branch
Update the dialogue, scene direction, and any other details that change in the new branch. Keep the characters, environments, and recurring elements you want to reuse.
Then generate, edit, and export the new branch using the same process.
How to add Visla videos to Articulate Storyline 360
Articulate Storyline 360 is an eLearning authoring tool for building custom interactive courses, assessments, and decision-making activities. For this workflow, you can place the Visla MP4s on individual slides and use Storyline’s triggers and branching controls to determine which video a learner sees next.
1. Import the Visla MP4
Open the slide where the video belongs and choose Insert → Video → Video from File.
Select the MP4 that matches that node in your scenario map.
2. Add the learner’s choices
After the video, add the buttons or other controls the learner will use to make a decision.
For example:
Acknowledge the concern
Defend the feedback
3. Connect each choice to the correct branch
For each button, add a Jump to slide trigger that runs when the learner clicks it. Point the trigger to the slide containing the appropriate next video.
For example:
Acknowledge the concern → slide containing ManagerFeedback_02A_Constructive.mp4
Defend the feedback → slide containing ManagerFeedback_02B_Defensive.mp4
If you want learners to decide during the video, add a cue point at that moment. Use triggers to pause the video and show a layer with the choices when the timeline reaches the cue point.
4. Repeat for the remaining branches
Add the next Visla videos and connect each learner decision to the appropriate slide.
If later events depend on earlier decisions, use Storyline variables and conditions to track those choices.
How to add Visla videos to Adobe Captivate
Adobe Captivate is an eLearning authoring tool for building courses, software simulations, assessments, interactive videos, and branching experiences. For this workflow, you can place each Visla video on a slide and use buttons to send learners to the next branch.
1. Add the Visla MP4
Add the appropriate MP4 to your Captivate project as a Slide Video.
Use the filename and branch ID from your scenario map to make sure you’re adding the correct clip.
2. Add the learner’s decision
Add a decision slide after the video and place a button on it for each choice. For example, label one button Acknowledge the concern and another Defend the feedback.
Create a separate destination slide for each next branch and add the corresponding Visla MP4 to it.
3. Connect each choice to the next branch
Select the first choice button and open Interactions → Add an interaction. Set the trigger to Click/Tap, choose Go to slide as the action, and select the slide containing that choice’s next video. Repeat for the other buttons, giving each one its own destination.
4. Repeat and test the branches
Add the remaining videos and connect each decision to its destination.
For scenarios that depend on earlier learner behavior, Captivate also supports conditional interactions using triggers, conditions, and actions.
How to add Visla videos to iSpring Suite
iSpring Suite is a PowerPoint-based eLearning authoring toolkit for creating interactive courses, quizzes, role-plays, videos, and other training content. Its PowerPoint workflow makes it straightforward to put each Visla MP4 on a slide and build navigation between the different branches.
1. Add each Visla MP4 to the appropriate slide
Place each video on the PowerPoint slide that matches its node in your scenario map.
Keep each branch on a separate destination slide so the learner can be routed to it independently.
2. Add the learner’s choices
Add a separate button, shape, or text link for each choice the learner will make before moving to the next branch.
For example, one choice might lead to the slide containing the constructive response while another sends the learner to the defensive response.
3. Link each choice to its destination slide
Select the first choice button, shape, or text link in PowerPoint. Add a link to Place in This Document, then choose the slide containing the corresponding Visla video. Repeat for each choice, linking it to its own destination slide.
You can also open Slide Properties → Branching in iSpring Suite to set where the course’s forward and back controls go. Those settings control slide navigation; the links you added to the choices determine which branch each learner selects. See how nonlinear navigation works in iSpring Suite.
4. Repeat for the rest of the scenario
Connect the remaining learner decisions to their corresponding destination slides.
Preview the course and test each path to make sure every choice opens the intended Visla video.
FAQ
Yes, but the tracking comes from the eLearning course rather than the MP4 itself. Storyline, Captivate, and iSpring can publish courses using standards such as SCORM and xAPI, which let compatible LMSs record completion, scores, and other learner activity.
Add captions or transcripts for the video content, make every decision usable with a keyboard, and avoid relying on visuals alone to communicate important information. Storyline supports captions and transcripts, Captivate supports captions for MP4 content and keyboard navigation, and iSpring provides accessibility features for captions and alternative text.
No, not when you export the finished Visla videos and add them to your authoring project as video files. Visla supports exporting and downloading completed videos, after which Storyline, Captivate, or iSpring handles delivery of the finished course.

May Horiuchi
May is a Content Specialist and AI Expert for Visla. She is an in-house expert on anything Visla and loves testing out different AI tools to figure out which ones are actually helpful and useful for content creators, businesses, and organizations.