
Quick Answer
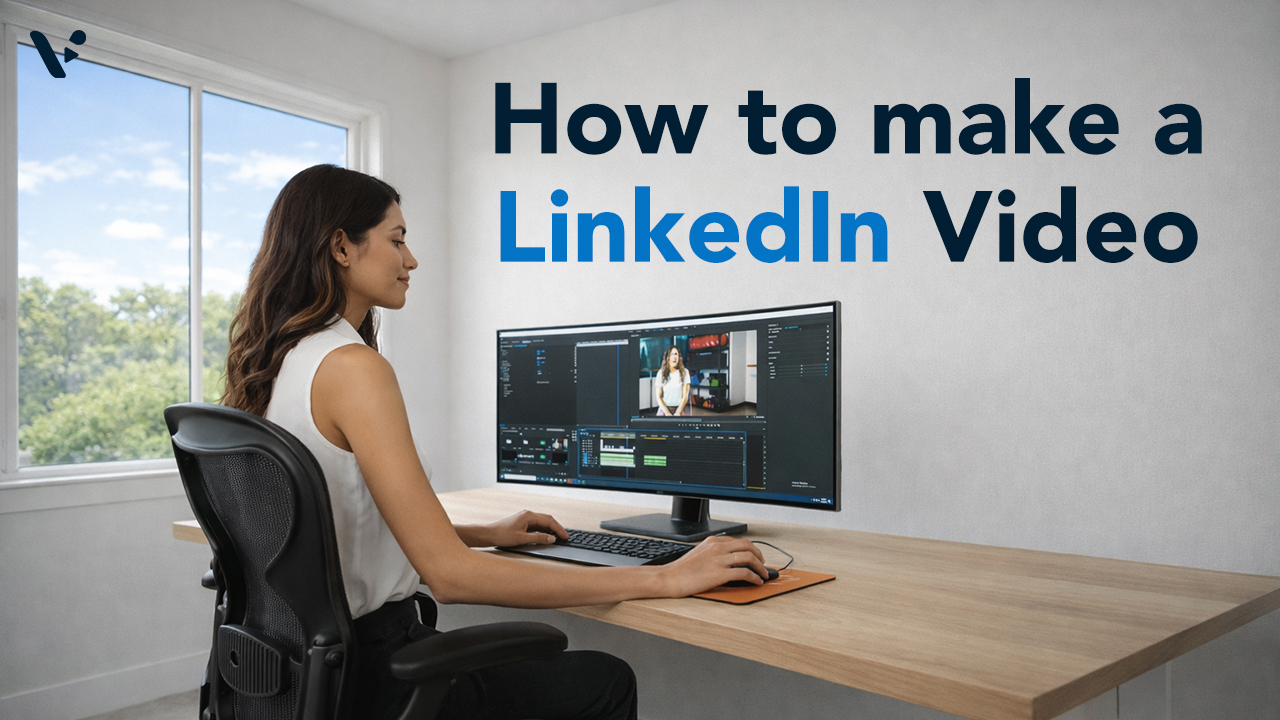
LinkedIn video outperforms every other static format on the platform, but the biggest barrier most teams face isn’t strategy, it’s production. Visla gives you three distinct paths to a publish-ready LinkedIn video: starting purely with AI, recording yourself on camera, or capturing your screen. Each path fits different video types and different levels of production comfort, and you can mix them depending on what you’re making on any given week. This guide walks through each one in detail so you can find your footing and build a workflow that actually sticks.
The LinkedIn Video Types Worth Your Time
Before we get into how to make videos, it’s worth being specific about what you’re actually trying to make. LinkedIn rewards a handful of video types consistently, and knowing which type you’re going for shapes every production decision after it.
Thought leadership clips are the bread and butter of personal LinkedIn presence in 2026. These are short, direct-to-camera videos where a founder, executive, or subject matter expert shares a perspective, a lesson learned, or a take on something happening in the industry. They don’t need to be long (45 to 90 seconds is often plenty) but they do need a real person on screen. B2B decision-makers have gotten skeptical of written content because so much of it is AI-generated now. A face on camera is still the fastest trust signal available.
Product demos and feature walkthroughs work well as both organic posts and paid ads. A 60 to 90-second screen recording that shows exactly how something works, with clean narration and subtitles, can do more selling than three paragraphs of copy.
Educational tips and “edutainment” content – short clips that teach one specific thing in an engaging way consistently earn the highest completion rates among cold audiences. This category includes quick how-to videos, explainers, and stat-driven insight videos. The format is intentionally bite-sized, and the value is immediate.
Customer stories and testimonials are underused but highly effective. Even a brief, informally recorded customer clip carries real weight with prospects who are still evaluating. If you can get a customer on camera for two minutes, you have material for several posts.
Repurposed long-form content – webinar clips, podcast highlights, interview excerpts rounds out a smart calendar without requiring original production time every week.
All the Different Ways To Make a LinkedIn Video Using Visla
Visla’s production paths map pretty directly to three different situations: you have materials but no footage, you want to appear on camera yourself, or you want to demonstrate something on your screen. Here’s how each path works.
is right for you?
Answer a few quick questions and we’ll point you to the production workflow that fits your project.
Path 1: Starting with AI (No Footage Required)
This is the right path when you don’t have recorded footage and you want Visla’s AI to build the video for you from scratch using whatever materials you already have. It works for thought leadership clips, educational content, explainers, and almost any awareness-stage video type.
Choosing Your Starting Material
The AI Video Agent accepts nearly anything as a starting point. Here’s how to think about which input fits what you’re trying to make:
| Starting material | Best for |
|---|---|
| An idea or prompt | Quick social clips, tips, and opinion pieces where you know what you want to say but haven’t written it out yet |
| A script | When you’ve already drafted the copy and want AI to build the visuals and pacing around it |
| A block of text | Repurposing blog posts, articles, or email copy into video |
| A link | Turning a webpage, press release, or article directly into a video summary |
| A clip or image | Building a narrative or montage around existing visual assets |
| Audio | Converting podcast recordings, voice memos, or interviews into edited video |
| A PDF or PPT | Walking through a slide deck, report, or sales document as a structured video |
The AI Video Agent Workflow
Once you’ve picked your starting material, the workflow is pretty simple:
- Start with anything. Drop in your idea, script, text, link, clip, image, audio, or PDF/PPT. Visla’s AI reads, listens, watches, and analyzes everything you give it.
- Guide the AI Video Agent. You control the video’s duration, pace, and aspect ratio. Choose vertical (9:16) for LinkedIn’s short-form feed or horizontal (16:9) for longer-form content. You also choose which stock footage and music libraries the Agent pulls from, and you pick the AI voiceover and Avatar that fit your story.
- Let the AI Video Agent work. Based on your preferences, it builds a fully formed video with narration, visuals, scenes, and transitions.
- Edit your draft in the Scene-Based Editor. Refine everything here: add text overlays and graphics, adjust branding, cut or rearrange scenes, rewrite any narration, and finalize your look.
- Share your video. Download it, grab a shareable link, or copy an embed code.
Path 2: Starting from “Generate AI Video” (AI Director Mode)
If you want to go even faster and don’t have specific source material to feed the Agent, you can jump straight into the AI Director Mode from the Visla web app.
- Click “Generate AI Video” in the web app.
- Describe your video with a text prompt. You can also upload any supporting materials here if you have them. This is where you set the AI Director Mode style (which shapes the visual tone and pacing of the output) and choose whether you want branding applied, and in what style.
- Guide the AI Video Agent using the same controls described above: duration, aspect ratio, stock libraries, voiceover, Avatar, and pace.
- Edit in the Scene-Based Editor to finalize.
This path is ideal when you know roughly what you want to say but want AI to handle the structure and creative decisions. It’s the fastest path from zero to first draft and works especially well for awareness-stage content like tips, industry takes, and short explainers.
Path 3: Recording Yourself on Camera
This is the path for thought leadership clips, founder commentary, customer-facing content, and anything where a real face on camera is the point. It takes a bit more setup than the purely AI paths, but the trust signal it creates with a LinkedIn audience is worth it.
- Download the Visla app on the phone or computer you want to record with, then sign into the Workspace and Teamspace where you want the footage to live.
- Choose your recording device. A built-in webcam or phone camera works well for casual, fast-moving content. For a more polished look, connect a dedicated camera via HDMI to a video capture card, which your computer recognizes as a webcam source. Whatever you use, prioritize clean audio: a clip-on lapel mic will improve your recordings more than any camera upgrade.
- Open the Visla app and click Video Recording. Navigate into the right Teamspace first.
- Set your recording options. Choose your microphone and camera, set your aspect ratio, and decide whether to use the teleprompter or connect a second recording device for extra angles or closeups.
- Record in short sections rather than one long take. They’re easier to re-record and much easier to edit.
- Your clips save automatically to your Teamspace when you’re done – no file hunting required.
- Open the Visla web app, click Create Video, then Import and bring in your clips. From here, choose the editing workflow that fits your footage:
| Option | Best for | Choose this when… |
|---|---|---|
| Summarize Audio or Video of People Talking | Shorter presenter-led clips | You recorded someone explaining something and want AI to condense the spoken content into a tighter draft |
| Transform Spoken Audio/Video With AI | Polished demos with b-roll and subtitles | You have spoken footage and want AI to add b-roll, background music, and subtitles around it |
| Advanced Editing Mode | Maximum control over talking footage | You want transcript-based editing, tighter manual cleanup, and the ability to cut video by editing text |
| Present Your Visuals | Asset-led explainers | You want AI to walk through PDFs, slides, images, or clips in the exact order you provide |
| Create Narrative Video | Story-led content with mixed assets | You uploaded multiple clips and images and want AI to shape them into a structured narrative |
| Create Video Montage | Fast highlight reels | You want Visla to analyze clips and images and build a montage-style edit |
A note on Advanced Editing Mode: this option only appears when your footage includes someone talking, and it’s the most powerful path when your video depends on spoken explanation. You can use AI to clean up bad takes, remove filler words and repeated words, and trim silent sections – or you can edit manually by working directly in the transcript. After Advanced Editing Mode, Visla takes you into the Scene-Based Editor for visual finishing.
Path 4: Screen Recording
Screen recording is the natural fit for product demos, software walkthroughs, and anything where showing what’s on your screen is more effective than describing it.
- Download the Visla app on the device that has the software you want to demonstrate.
- Open the Visla app and click Screen Recording. Go into your Teamspace first, then choose whether to capture a full screen, a region, or a specific window.
- Set your recording options. Choose your microphone and decide whether to also record your webcam alongside the screen. A picture-in-picture presenter view adds a personal layer to a demo and tends to perform better with LinkedIn audiences.
- Choose between normal and AI screen recording – the two modes have meaningfully different editing paths.
Normal Screen Recording
- Record and save your clips. When you finish, your footage saves to your Teamspace.
- Open the Visla web app, click Create Video, then Import your screen recording. From here, use the same editing workflow table from Path 3. If your recording includes spoken narration and you want transcript-level control, Advanced Editing Mode is your best option. If you want a polished first draft built quickly, the standard AI Video Agent path works well.
AI Screen Recording
- After recording, describe what’s on screen. Visla will prompt you – keep it simple: the product, the task, the audience.
- Let Visla analyze the recording in the browser, then continue through the standard AI Video Agent workflow: set duration, aspect ratio, voiceover, and more.
- Finish in the Scene-Based Editor as normal.
One important limitation: AI screen recording doesn’t connect to Advanced Editing Mode the same way a normal screen recording import does. If transcript-based manual control matters for this project, use normal screen recording instead.
FAQ
Length really does depend on what the video is trying to do and where in the funnel your audience is. Cold audiences who don’t know you yet respond best to videos under 60 seconds because you haven’t earned their attention for longer than that yet, while warmer audiences who already follow you will watch two to four minutes if the content is genuinely useful to them. A good rule of thumb: if you’re introducing yourself or a concept, keep it short; if you’re teaching something or walking through a product, you’ve got more runway.
Yes, every time, without exception. The majority of LinkedIn users scroll with their sound off, so a video without captions is essentially a silent film that most people will skip past within the first two seconds. Beyond accessibility and mute-scrolling, captions also reinforce your key points visually, which improves message retention even for viewers who are watching with sound on. If you’re using Visla, you can set your subtitle style during the AI Video Agent step so captions are built into the video before you ever reach the editor.
Personal profiles consistently outperform company pages on LinkedIn right now, and the gap has widened significantly – company pages receive a fraction of the feed distribution that personal profiles do, which means the same video posted from a founder’s profile will typically reach far more people than the identical post from a brand account. That doesn’t mean company pages are useless, but they work better as a secondary amplification layer rather than the primary publishing point. The most effective teams have individuals post the video first, then reshare or reference it from the company page to extend its reach without splitting the engagement signals.
May Horiuchi
May is a Content Specialist and AI Expert for Visla. She is an in-house expert on anything Visla and loves testing out different AI tools to figure out which ones are actually helpful and useful for content creators, businesses, and organizations.