
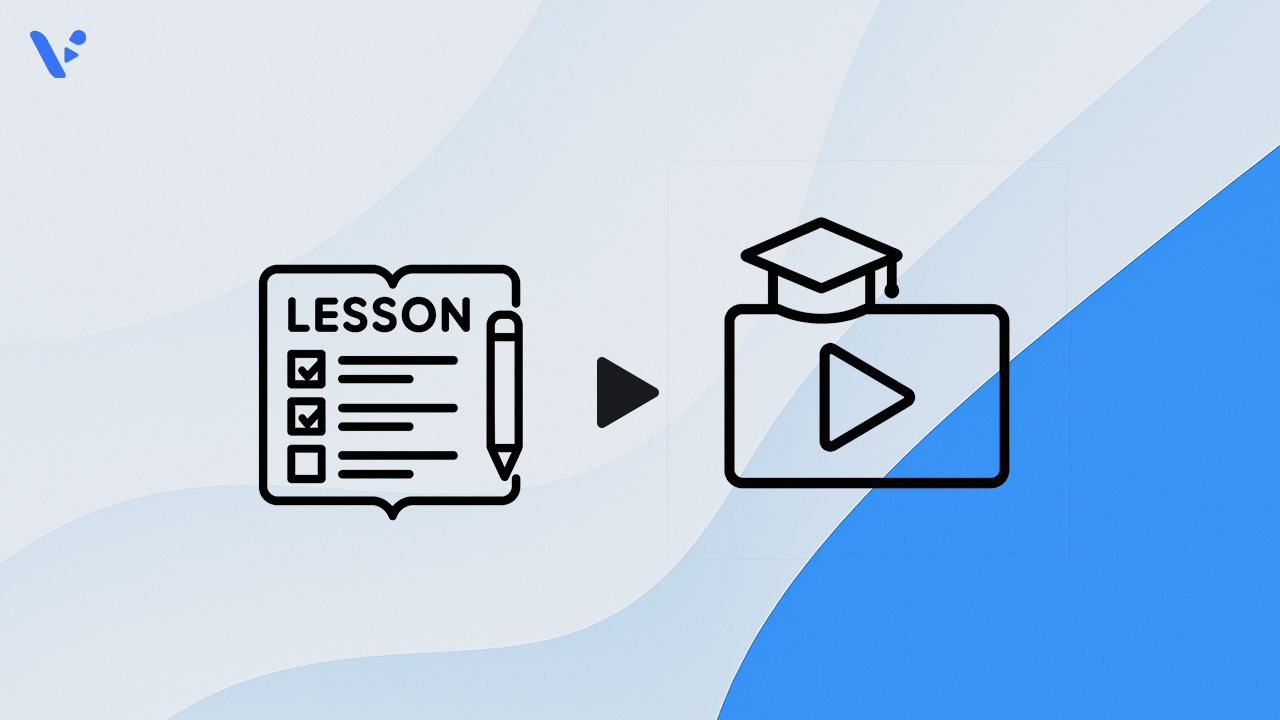
Have you ever wished your PowerPoint presentations could be more engaging? Turning your slides into videos can totally transform the way you teach. Videos grab attention, simplify complex ideas, and make your lessons accessible on any device. With Visla’s PPT to Video tool, you can breathe life into your presentations. Add narration, motion, and personality to your slides, creating a dynamic learning experience your students will love.
Key Takeaways
- Turn your PPT slides into videos to make lessons fun and exciting.
- Videos help students learn better by mixing pictures, sound, and movement.
- Keep videos short, under 10 minutes, so students stay interested and remember more.
Why Use Videos for Teaching?

How videos enhance engagement and learning
Videos are a powerful way to capture and hold your students’ attention. Research shows that shorter videos (under six minutes) maintain nearly 100% engagement, while longer ones see a significant drop.
| Study | Key Finding |
|---|---|
| Guo et al. (2014) | Videos under 6 minutes had close to 100% engagement. |
| Szpunar et al. (2013) | Students answering questions between video segments performed better on tests. |
Interactive features, like guiding questions or pause-and-reflect moments, can further enhance learning outcomes. When students control video playback, they feel more involved and retain information better.
By converting your PPT to Video, you can create lessons that are not only informative but also interactive and fun. This approach encourages active participation and reduces distractions.
Accessibility and compatibility advantages
Videos shine when it comes to accessibility and compatibility. They work seamlessly across devices, whether students use smartphones, tablets, or desktops. This flexibility ensures that everyone can access your lessons, no matter where they are.
- Videos can act as a substitute for hands-on experiments in schools with limited resources.
- They are especially effective for teaching science concepts, like the human heart or blood circulation.
- Accessibility features, such as subtitles and voiceovers, make videos inclusive for all learners.
With Visla’s PPT to Video tool, you can add subtitles and translate the video language to make your videos more personal. This ensures your message reaches every student, regardless of their device or learning needs.
Benefits of converting PPT to video
Turning your PowerPoint presentations into videos offers a range of benefits that can elevate your teaching. Videos combine visuals, audio, and motion, creating a multi-sensory experience that helps students grasp concepts more effectively.
- Supplementary videos enhance understanding by adding visual and auditory elements to your lessons.
- They serve as excellent revision tools, especially when students prepare for exams.
Unlike traditional slides, videos make your content more dynamic and engaging. Plus, students appreciate having access to videos for self-paced learning without impacting their attendance.
Tip: With tools like Visla’s PPT to video feature, you can easily transform your slides into polished videos that students will love revisiting.
Step-by-Step Guide to Convert PPT to Video
Transforming your slides into a shareable video with Visla takes just a few clicks:
1. Sign Up: If you don’t already have one, sign up for a free Visla account!
2. Click “Create Video”: This launches our powerful AI Video Creator tool.

3. Upload Your PPT: Upload your PowerPoint file (.ppt or .pptx). After our AI has analyzed your content, click Next to continue.

4. Customize Your Video Settings: On the settings page, you can tell our AI exactly how to construct your video. Here’s what you can do:
- Specify the total duration and pacing
- Choose between an AI-generated voice or your own recording
- Pick an aspect ratio (16:9, 1:1, or 9:16)
- Allow Visla to suggest a fitting music track

5. Click “Generate Video”: Our AI will assemble your slides into a video.
6. Edit in Scene-Based Editing: Here you can tweak your video to get the final result you want. Add different transitions, add the Ken Burns effect, add text overlays, move scenes around, and more.

Video Creation Basics for Teachers
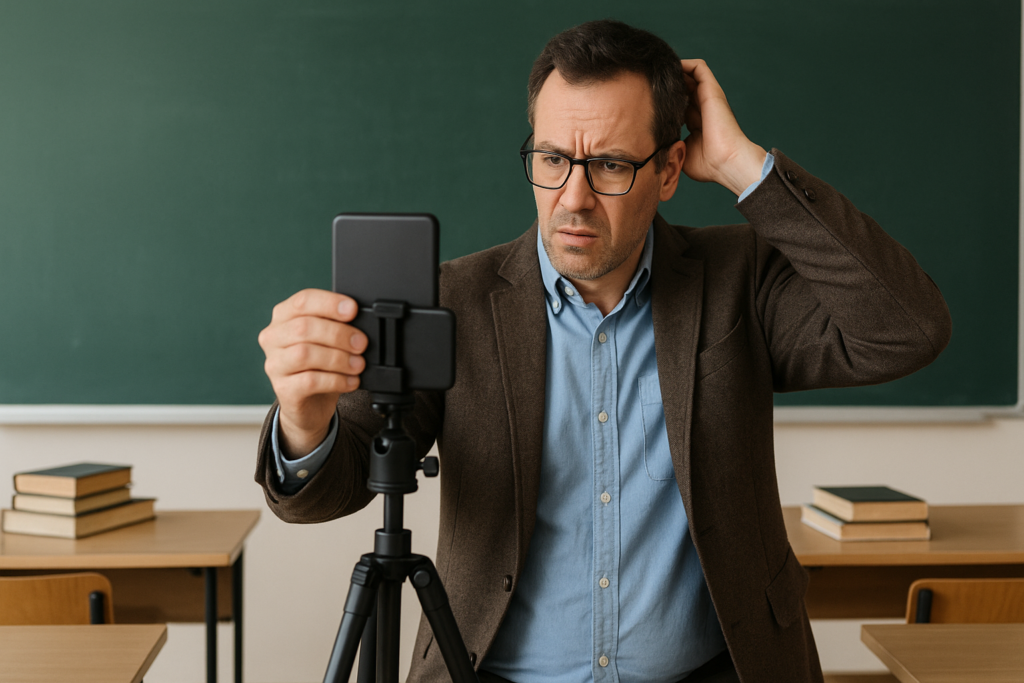
Recording Yourself
Recording yourself adds a personal touch to your teaching videos. Students often feel more connected when they see and hear their teacher, making the learning experience more engaging. Research shows that students prefer audio and video feedback over written comments because it feels more detailed and personal. When you record spoken feedback, you can deliver more words per minute compared to writing, saving time while providing richer explanations.
To get started, choose a quiet space with good lighting. Position your camera at eye level to create a natural connection with your audience. Speak clearly and maintain a friendly tone. If you’re nervous, practice a few times before hitting record. Using a good teleprompter can also help you keep your place while recording.
Tip: Don’t worry about perfection. Students appreciate authenticity, so focus on delivering your message with clarity and enthusiasm.
How to Achieve High Quality Audio and Video
High-quality audio and video make your teaching videos more professional and easier to follow. Poor sound or blurry visuals can distract students and reduce engagement. Here are some simple ways to improve your recordings:
- Use a microphone to capture clear audio. Built-in laptop microphones often pick up background noise, so investing in a USB or clip-on mic can make a big difference.
- Record in a well-lit area. Natural light works best, but you can use desk lamps or ring lights to brighten your space.
Pro Tip: Test your setup before recording. Play back a short clip to check sound levels and video quality.
Editing Basics
Editing is where your video truly comes to life. Simple edits can enhance clarity, improve pacing, and keep your students engaged. Focus on trimming unnecessary parts, adding subtitles, and including visuals to reinforce key points.
- Add overlays to highlight important concepts.
- Don’t overdo it with animation and scene transitions.
Note: Editing doesn’t have to be complicated. Tools like Visla’s scene-based editor make it easy to rearrange scenes, add text overlays, and polish your video.
How to Teach With Video
Teaching with video can transform your lessons into engaging and memorable experiences. Videos allow you to explain complex topics, demonstrate processes, and connect with your students in ways that static materials can’t. But how do you make the most out of this powerful tool? Here are some strategies to help you teach effectively with video.
- Keep it Short and Focused
Short videos work best for learning. They improve knowledge retention and help students understand complex ideas. Aim for videos under 10 minutes to keep your students’ attention. Break longer lessons into smaller segments to make them easier to digest. - Use Videos for Step-by-Step Learning
Videos are perfect for teaching procedures or processes. Students can watch and rewatch at their own pace, which is especially helpful for hard-to-visualize tasks. For example, you can use videos to demonstrate a science experiment or solve a math problem step by step. - Blend Videos with Other Teaching Methods
Videos work best when combined with other activities. Use them to introduce a topic, then follow up with discussions, quizzes, or hands-on projects. This blended approach reinforces learning and keeps students involved.
Tip: Use subtitles and clear narration to make your videos accessible to all learners. Tools like Visla can help you add these features effortlessly.
Teaching with video doesn’t have to be complicated. By keeping your videos concise and well-integrated into your lessons, you can create a learning experience that’s both effective and enjoyable. So, start experimenting and see how videos can enhance your teaching!
FAQ
Visla’s PPT to Video tool works fast! Upload your presentation, customize settings, and generate your video in minutes. The AI handles most of the work, so you can focus on teaching.
Absolutely! Record your voice directly or use Visla’s AI voice cloning feature to replicate your tone. This adds a personal touch to your videos and makes them more relatable for your students.
Visla supports both .ppt and .pptx formats. You can upload presentations created in older or newer versions of PowerPoint without any compatibility issues.
Yes! Visla’s intuitive interface makes it easy for anyone to create videos. You don’t need editing experience. Just follow the steps, and you’ll have a polished video ready to share.
You sure can! Visla’s AI automatically generates subtitles for your videos. Subtitles improve accessibility and help students follow along, especially in noisy environments or for those with hearing challenges.
May Horiuchi
May is a Content Specialist and AI Expert for Visla. She is an in-house expert on anything Visla and loves testing out different AI tools to figure out which ones are actually helpful and useful for content creators, businesses, and organizations.