
I write a lot of blog posts. If you’re reading this on the Visla blog, you probably already know that because you’re in one right now.
But for a lot of marketing teams, publishing the blog is only part of the job. The bigger question is what happens after the article goes live. Does it sit there and wait for search traffic? Does it get one LinkedIn post and disappear into the feed? Does someone promise to “repurpose it later” and then never do it because everyone is swamped?
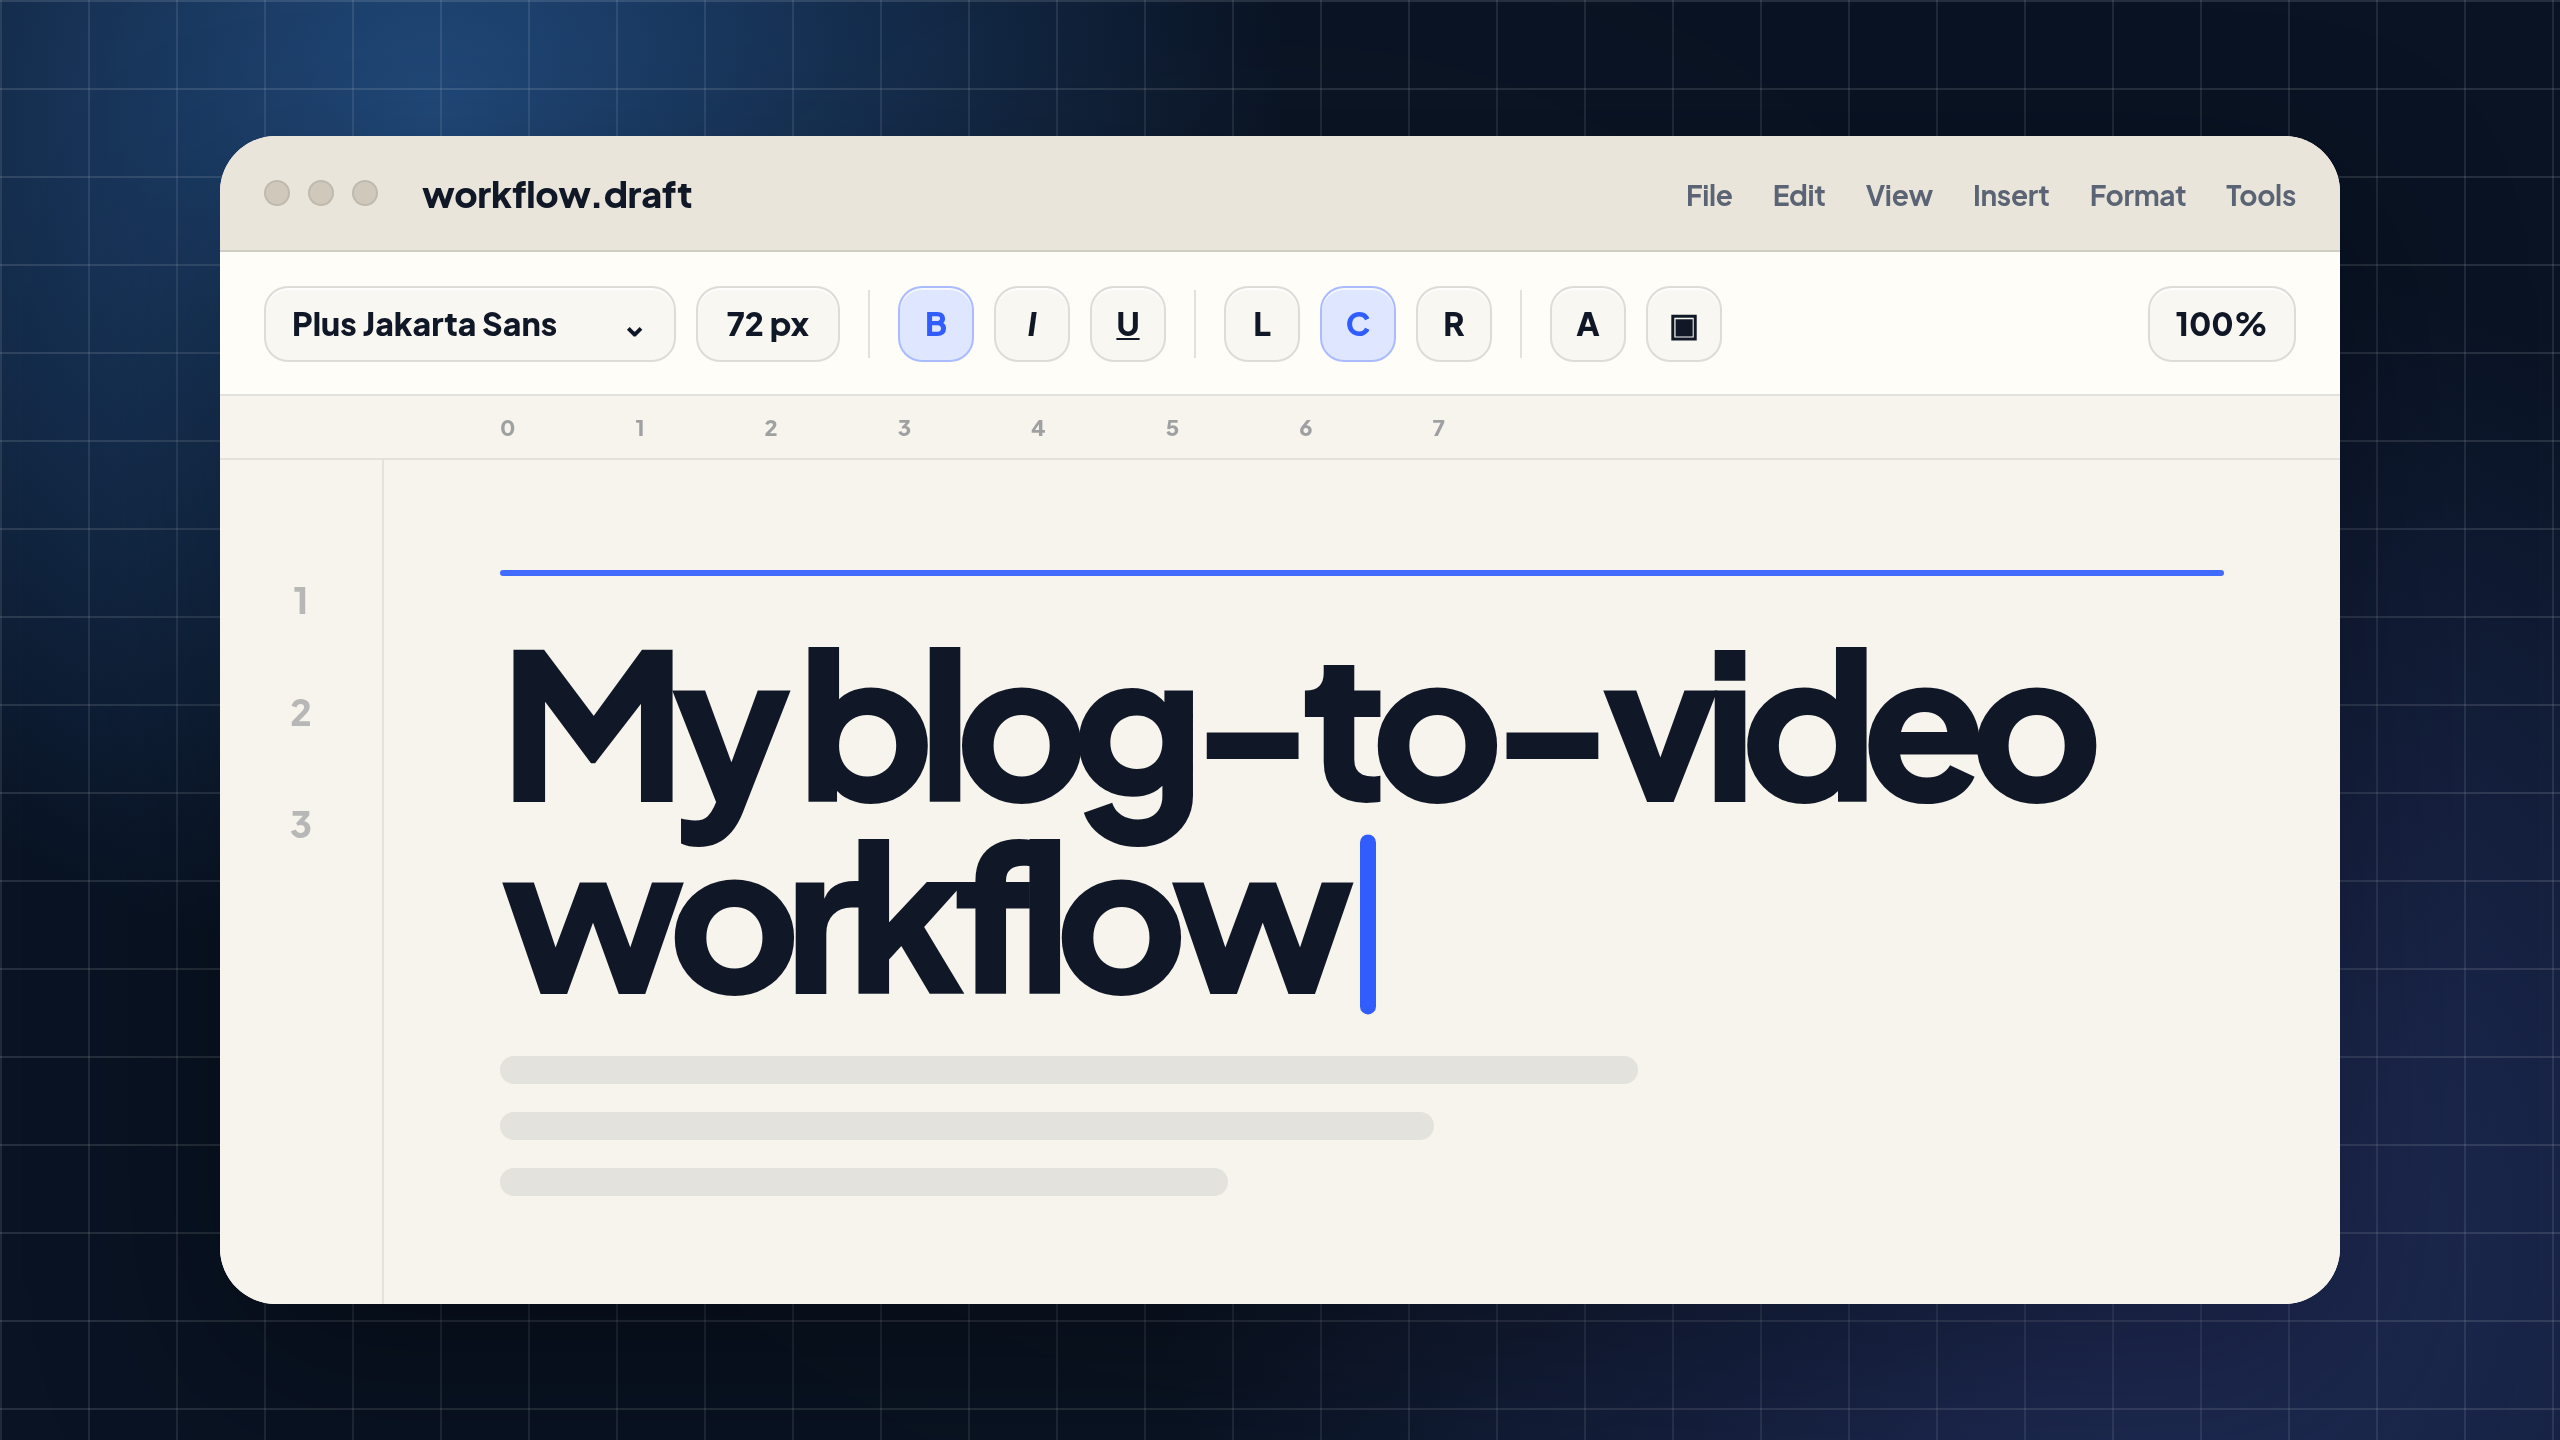
That’s where my blog-to-video workflow comes in.
This is the actual process I use every week to turn Visla blog posts into short videos for YouTube, YouTube Shorts, LinkedIn, and the blog article itself. I’m not saying it’s the only way to do it. I’m probably more particular than the average person and I like to spend a lot of time tweaking the script, choosing stock footage, and creating thumbnails.
But that’s also why I think this workflow is useful. It shows where AI can save time without taking the whole thing out of your hands.
Why turn a blog post into a video?
The short answer: because you already did the hard thinking.
A good blog post usually has a clear argument, examples, structure, and a point of view. Turning that into a video gives the same idea more places to live. It can support the article on the page, give YouTube something useful to index, create a short-form asset for Shorts, and give LinkedIn a more native format than a plain text post with a link.
The data backs this up. Wyzowl’s 2026 video marketing report found that 91% of businesses now use video as a marketing tool. It also found that 82% of video marketers say video has helped them increase web traffic, and 82% say it has helped keep visitors on their website longer. That matters if you’re embedding videos in blog posts, because the video isn’t just extra decoration. It can help the page work harder.
The length matters, too. Wyzowl also found that most people think videos between 30 seconds and 2 minutes are the most effective. That lines up with my own workflow. I usually aim for about one minute because it’s long enough to make a real point, but short enough that it doesn’t become a second version of the whole article.
There’s also the B2B side. Wistia’s 2026 State of Video Report found that LinkedIn is now the top B2B video channel, with 8 in 10 teams saying it’s their primary place to share videos. Reuters has also reported that LinkedIn is pushing harder into video through BrandLink and other advertising programs, with CEO video posts up 68% over two years.
So no, I don’t think every blog needs a 12-minute documentary. But if you already have a strong article, creating a short video from it is a pretty sensible way to extend the life of that work.
Step 1: Start with the finished blog
I’m not going to spend much time on this part because this workflow starts after the blog is already written.
The article comes first. That’s the source material. It has the argument, the examples, the structure, and the context. The resulting video doesn’t need to repeat every section. In fact, it shouldn’t. A one-minute video can’t carry the same level of detail as a 1,500-word article, and trying to cram everything in usually makes the script sound terrible. That’s why the next step is so important.
Step 2: Compress the blog into a script
Visla can do this automatically. You can enter the URL of a blog article or paste the text into Visla, and it can turn the article into a proper video script. For most people, that’s probably the easiest workflow. It keeps the process in one platform, which is kind of the whole point.
I don’t always do that.
I’ll admit it: I’m a pretty specific person. Sometimes I rewrite the blog into a short script myself. Sometimes, if I’m short on time, I’ll ask Claude to summarize the article into a version that can be read aloud in about a minute. Then I review the result carefully.
Yes, that can sound like a more complicated way of getting the same result as Visla’s Script to Video workflow. I understand. But I’m usually not finished after the first pass.
I’m checking two things.
First, does the script capture what I actually want from the article? A summary can be technically accurate and still miss the point or simply sound awkward. If the most useful part of the blog is one specific argument, I’d rather build the video around that than flatten the whole post into a generic overview.
Second, does it sound good when read aloud? Blog writing and spoken scripts are different. A sentence that works perfectly on the page can sound stiff, long, or weird in a voiceover. I look for places where the phrasing feels too dense, where the transition is too abrupt, or where the tone is just too dry for a video.
Because the video is only about a minute long, this pass doesn’t take that much time. I’ll rewrite lines, simplify transitions, and cut anything that only works in written form.
Step 3: Put the script into Visla
Once the script sounds right, I bring it into Visla using Script to Video.
Script to Video, as a feature, doesn’t rewrite what I enter. That’s exactly what I want. At this point, I’ve already decided what the video should say. I want Visla to build the video around that script, not reinterpret the message.
From there, Visla asks me to set up the video project before anything is created. This is the normal AI Video Agent workflow. I choose the settings for things like the aspect ratio, voiceover, footage, background music, and so on. Then Visla can split the script into scenes and start matching visuals to the narration.
This is where the workflow branches.
Step 4: Decide between stock footage and AI Director Mode
I don’t use the same visual approach for every blog.
If I’m writing about a real company, product, or event, I usually want real footage. For example, if the blog is about Google, OpenAI, or another company people recognize, I’d rather use stock footage of their actual HQs, events, devices, or people than ask AI to approximate those things. Now, you need to have access to premium Getty Images stock footage through the Visla Business Plan to get this kind of high-quality footage. But if you do, real footage gives the video a level of credibility that AI-generated video clips often can’t match.
Stock footage still has a lot of value when it’s specific and relevant. The problem is generic stock footage. I can only watch so many glowing 3D brains, floating circuit boards, and humanoid robots dramatically touching invisible screens before I become frustrated with the state of stock footage.
That’s where AI Director Mode helps.
I use AI Director Mode when the visuals need more direction than stock footage can give me. If the topic is abstract, conceptual, or hard to represent with real-world footage, AI-generated video can work better. It’s also useful when I want a consistent visual style, character, object, or environment across multiple scenes.
The AI Director Mode workflow adds a little more setup. Before generating the video, I define the characters, objects, and environments I want Visla to use. Then Visla gives me a scene-by-scene list with AI-generated images representing what the final video clips could look like as well as an editable prompt that Visla will use to generate those clips. I can review everything before deciding what to generate as full video clips.
Usually, I generate everything because I work at Visla and don’t have to think about credits in the same way a normal customer would. I realize this is a deeply unfair advantage, but I have to be honest. You too can have a generous amount of credits if you convince your boss to purchase a Visla Enterprise plan.
Step 5: Edit scene by scene
No matter which path I choose, I end up in the scene-based editor.
This is where the video becomes something I feel confident publishing. I watch the entire video draft, review each scene, check the pacing, and make sure the footage matches the point of each scene. If a line still sounds awkward, I rewrite it directly in the scene (and regenerate the AI voiceover). If the footage feels generic, I swap it out. If an AI-generated clip looks wrong, I tweak the prompt and regenerate it.
The scene-based editor is especially useful because I don’t have to treat the video as one giant block. I can fix one scene without rebuilding the whole project. That matters when the issue is small, like a weird phrase, a bad visual match, or a clip that technically works but gives off “corporate screensaver from 2011” energy.
With the standard AI Video Agent path, I do a lot of footage swapping. Visla genuinely does a good job matching footage to scenes, but I’m picky. If I think there might be better footage available, I try to find it and swap it in. If stock footage doesn’t work for any reason, I’ll sometimes generate an AI clip just for that scene.
With AI Director Mode, the edits are a little different. I’m usually checking whether the generated clips match the scene, whether the visual continuity holds, and whether any scene needs to be regenerated or adjusted. However, I’ll still do the basics, like deciding whether the script holds up, whether any of the lines sound awkward, or whether there are any other fundamental issues.
Either way, the first draft is the starting point. It’s not the final video.
Step 6: Create the platform-specific versions
Once I’m happy with the main video, I create three versions:
16:9 for standard YouTube and blog embeds
9:16 for YouTube Shorts
1:1 for LinkedIn
This is annoying in a lot of video workflows, but it’s necessary. A landscape video can look awkward in a vertical feed. A vertical video can be useless for a normal YouTube upload. A square version often works better on LinkedIn because it takes up more feed space without feeling as aggressively vertical as a Short.
This is also where the data lines up with the actual work. HubSpot’s 2026 writeup on Wistia’s State of Video Report found that 76% of teams adjust aspect ratios depending on where they’re posting, and half do it every time. That makes sense. Distribution changes the format.
In Visla, I use the Style sidebar to switch between aspect ratios. Then I choose how the footage should adjust. Fill, fit, and optimized can get you most of the way there.
But because I’m me, I still check the crops manually. Sometimes a clip technically fits but cuts off the important part. Sometimes the subject is too low in the frame. Sometimes a crop cuts off everything I actually want to see.
When that happens, I adjust the clip manually. I’ll also add a Ken Burns effect if a static crop looks awkward or if the motion helps the scene feel less flat.
Step 7: Make the thumbnail
Visla can generate thumbnails with AI, and that’s useful if you want to move quickly.
I usually make the thumbnail myself in Photoshop. This isn’t because the AI option is bad. It’s because I want consistency across the blog, YouTube, and social assets. I already know the visual system I’m using, and I like having control over type, layout, hierarchy, and the tiny spacing decisions that only matter to marketers and designers who have stared at a thumbnail for too long.
The thumbnail also has to work across all aspect ratios. I don’t want to make a separate thumbnail concept for every version unless there’s a real reason. Most of the time, one strong thumbnail system is enough.
Step 8: Publish and reuse the video
After the videos are done, I download each version. Then a teammate handles uploading them to the right accounts.
The 16:9 version can go on YouTube and inside the blog post. The 9:16 version can go to YouTube Shorts. The 1:1 version can go to LinkedIn.
That’s the real value of this workflow. I’m not starting from zero every time we need a video. I’m taking a blog that already exists and turning it into a set of video assets that match how people actually find and consume content.
What I’ve learned from doing this repeatedly
The biggest lesson is that AI helps most when I know what I want.
If I throw a whole blog into a tool and accept the first output, the result might be fine. But “fine” isn’t usually what I want to publish. The better workflow is to use AI for speed, then use human judgment for the decisions that affect quality.
That means rewriting the script so it sounds spoken instead of written. It means choosing real stock footage when real footage is more credible. It means using AI Director Mode when stock footage can’t represent the idea well. It means checking every aspect ratio instead of assuming the automatic crop understood the assignment.
A blog already contains the hard part: the idea. Turning it into video is about making that idea easier to watch, easier to share, and easier to reuse.
May Horiuchi
May is a Content Specialist and AI Expert for Visla. She is an in-house expert on anything Visla and loves testing out different AI tools to figure out which ones are actually helpful and useful for content creators, businesses, and organizations.