1. Sign Up
Sign up for Visla. You instantly get your own Workspace. This Workspace is your main hub. You will also see “My Space” here, which is your private area. Create as many Teamspaces as you need for different projects or teams.
Visla Workspaces help teachers, staff, and administrators organise, create, and manage class videos and resources efficiently by giving them a central hub with focused Teamspaces for each course or project.
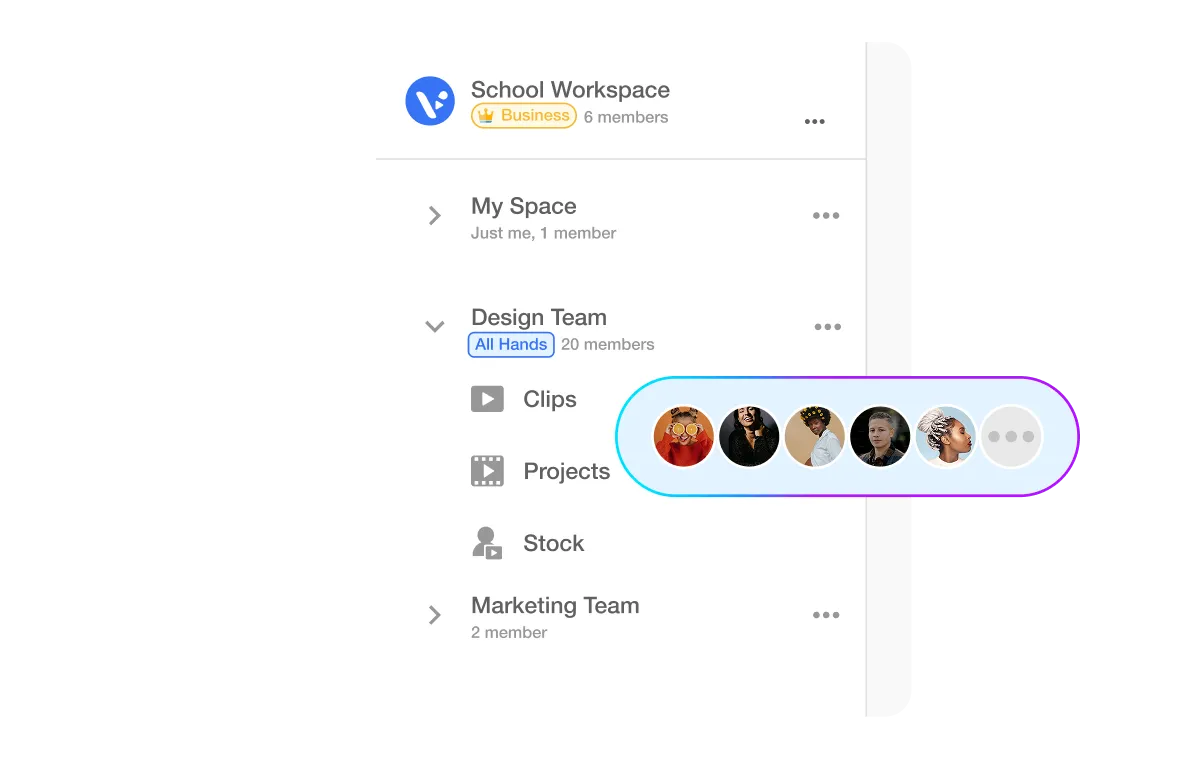
A Workspace is your team’s main hub on Visla where all projects, footage, and Teamspaces live together. Think of it as your digital office, while Teamspaces are like meeting rooms inside that office for focused collaboration. You create Teamspaces within a Workspace to organise different teams or projects efficiently.
Teachers and staff can share lesson videos, organise class resources, and edit content together. Whether you are on campus or teaching remotely, Visla keeps everyone connected. Collaboration becomes simple and fast.
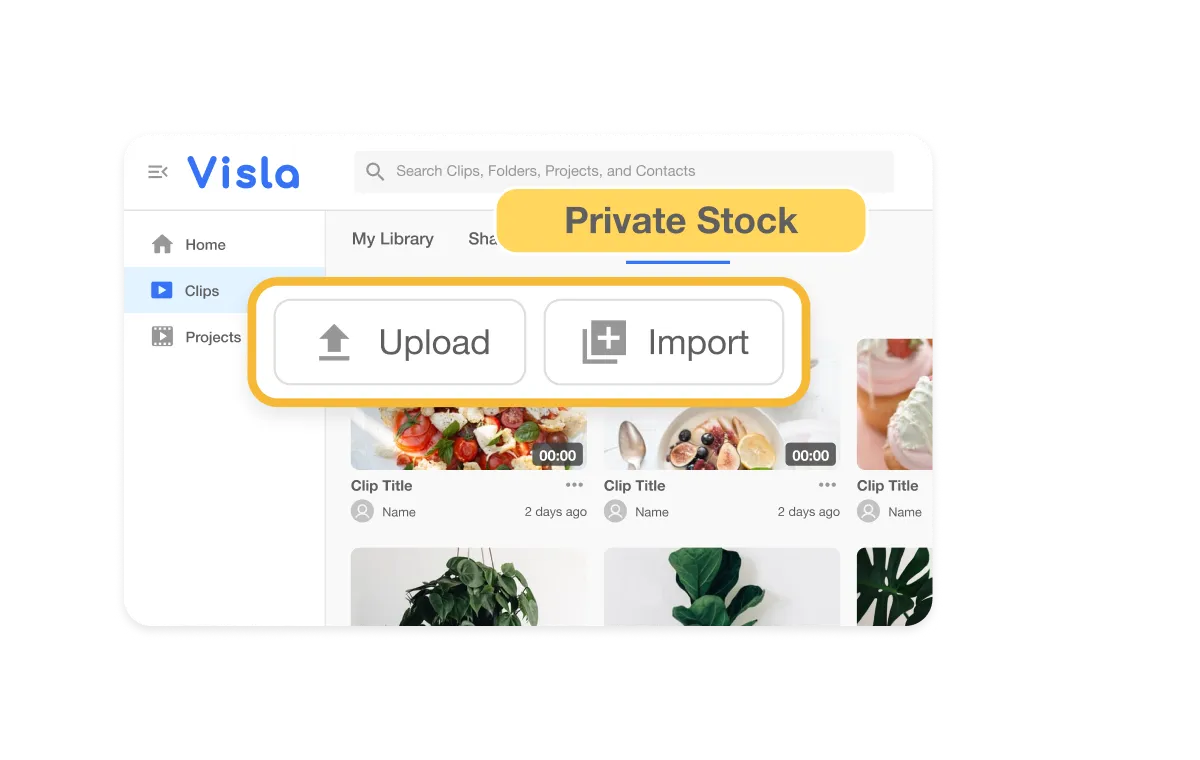
Create separate Workspaces for departments like Science or Humanities, then build Teamspaces for each class or project group. You keep your lessons and student projects in their proper place. Visla’s AI uses the right Private Stock footage based on the Teamspace you are working in.
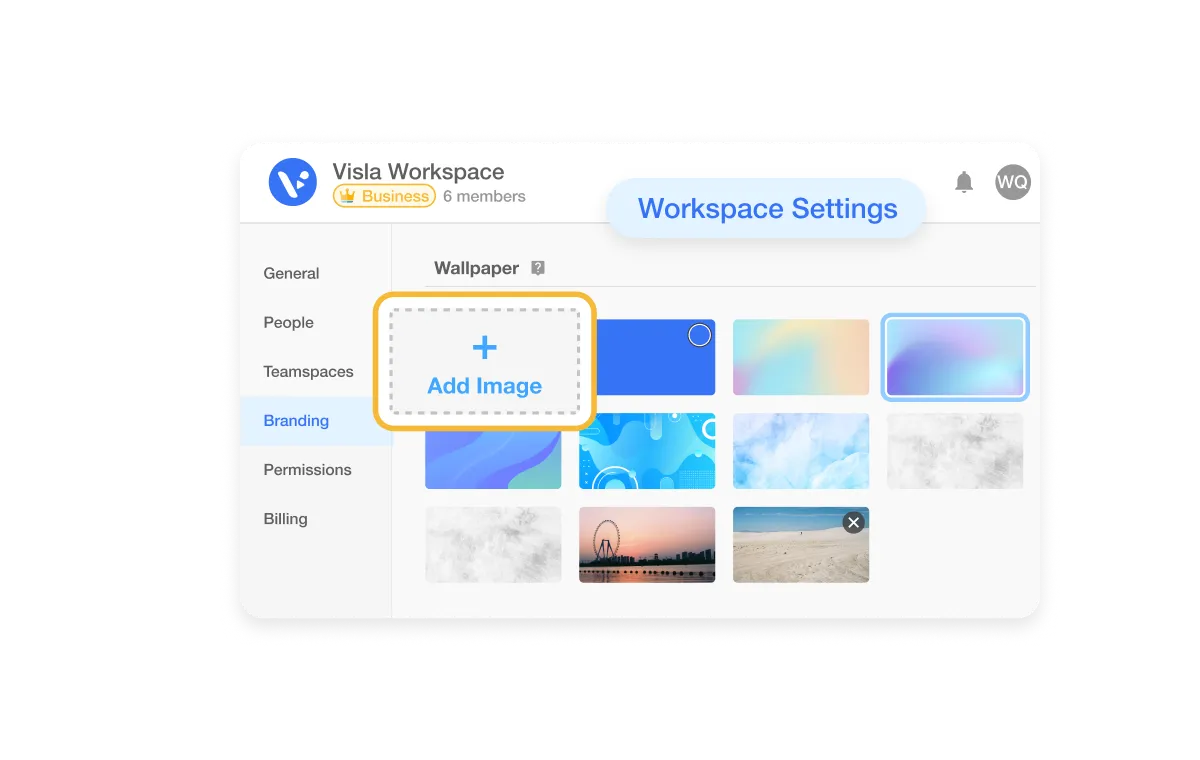
Upload your school’s logos and brand elements at the Workspace level to keep all videos looking official. Each class video or training module will match your school’s visual identity. This builds trust and familiarity with students and parents.
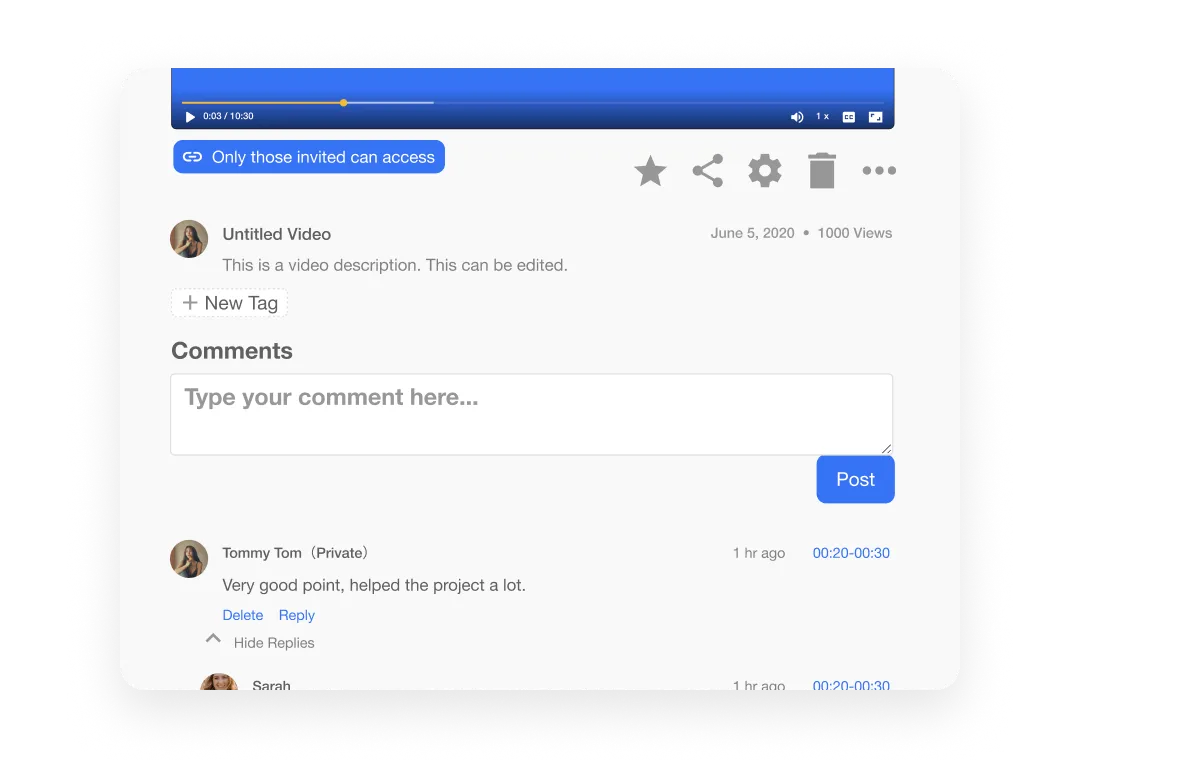
Give clear, targeted feedback on student or staff videos by adding comments at exact moments in their recordings. New comments are marked so no one misses them. You can reply or resolve them quickly to keep projects moving forward.
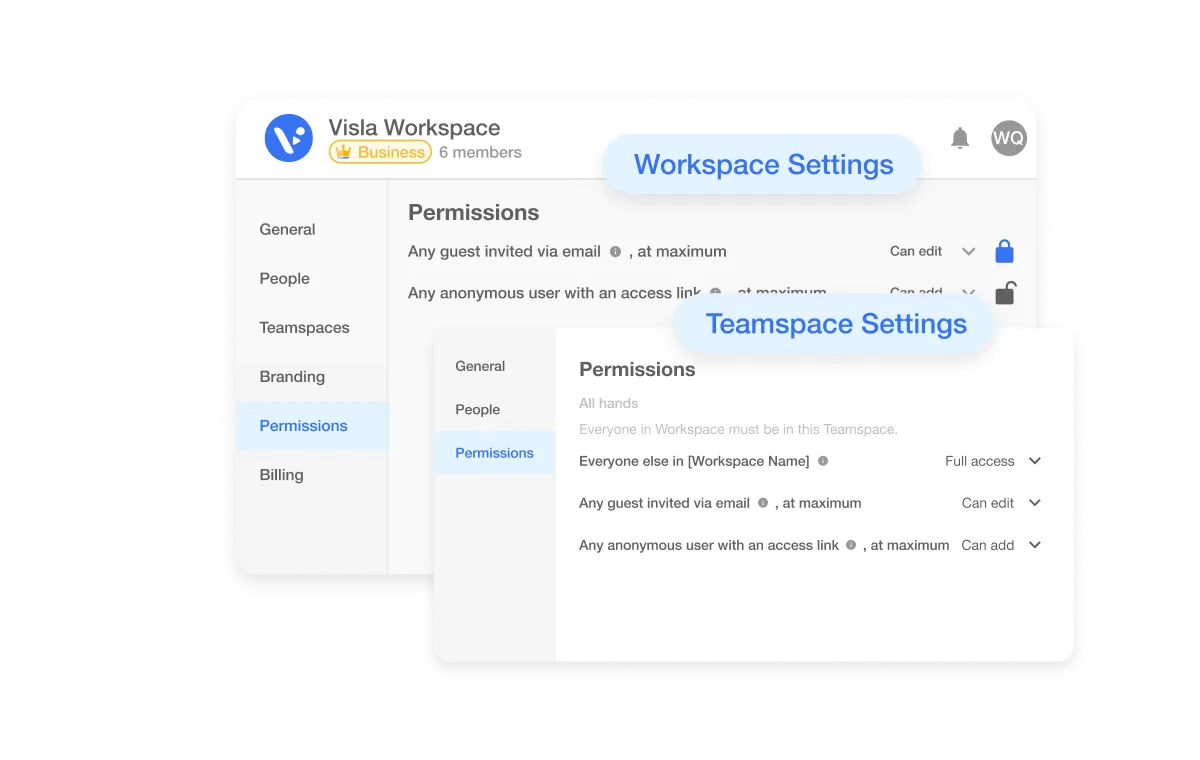
Set roles for teachers, teaching assistants, or students to control who edits, views, or comments. Adjust access levels easily to keep class content secure. This keeps your materials organised and your team focused.
Sign up for Visla. You instantly get your own Workspace. This Workspace is your main hub. You will also see “My Space” here, which is your private area. Create as many Teamspaces as you need for different projects or teams.
Join an existing Workspace if needed. Visla suggests Workspaces for you based on your email domain or SSO login. This makes joining quick and easy.
Adjust the settings for your Workspace. Invite members with their email, a shareable link, or even a QR code for events. Adjust access permissions to control who can do what.
Create your first Teamspace and name it. You can create unlimited Teamspaces to organise work. If you’re in a Workspace with many Teamspaces, you can join any of them. Set permissions for each Teamspace to keep everything secure.
Inside your Teamspace, create videos from scratch, upload existing footage, or record your screen. You can also record yourself using Visla’s desktop or mobile app. Start building content today.
An educator creates a Workspace for their entire department to manage video resources. They set up separate Teamspaces for each course, such as Biology 101 or Chemistry Lab, to organise recordings and lectures. This way, they keep materials focused for each class while maintaining everything under the main department Workspace.
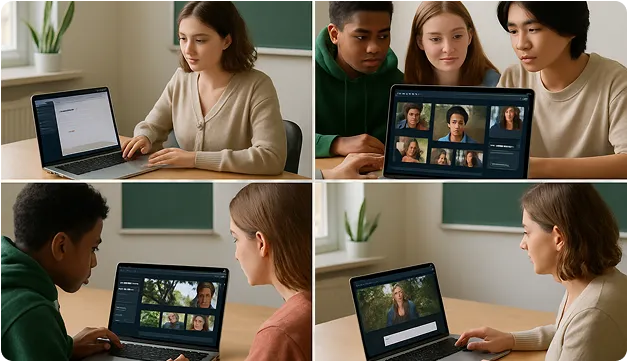
A teacher creates a Workspace for their school and then builds Teamspaces for student project groups. Students upload footage, edit videos together, and share drafts within their Teamspace. The teacher reviews and gives feedback in one place without juggling emails.
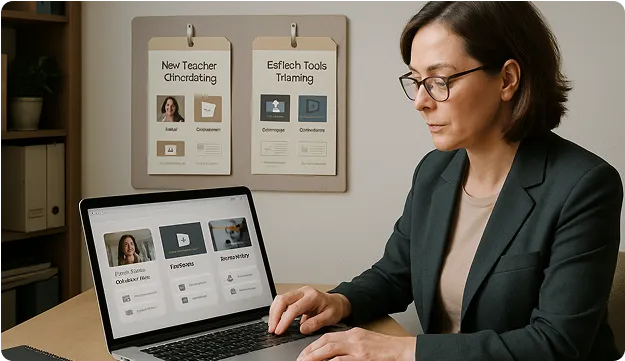
A school administrator sets up a Workspace for faculty training resources. They create Teamspaces for topics like “New Teacher Onboarding” and “EdTech Tools Training.” Each Teamspace holds videos, recordings, and walkthroughs tailored for that topic to keep learning organised and accessible.
 How can teachers use Visla Workspaces in their daily classes? What is the difference between a Workspace and a Teamspace for schools? Can students upload and edit videos in Visla Teamspaces? How does Visla keep our school’s videos secure? How does Visla support consistent school branding in videos?